Garage Reorganization
I reorganized my "workshop" area of the garage by moving shelves around and putting things up on a pegboard. Then I made a cardboard cat scratcher for my lovely cats who do not love me as much as I love them.
In a surprising turn of events, I actually completed a task that I said I would in a timely fashion!
The garage reorganization is done as it will be for now. The pegboards are mounted and I arranged some of my tools/equipment on the boards using metal hooks.
I also finished a different project — a cat scratcher — that I wanted to do over a year ago. Not so timely, but better late than never.
The Garage
Before the reorganization, I had a 2x4 cube shelf horizontal and parallel to the wall. The shelf was left in the garage when I bought the house. I liked having it next to the door so I could set things down to open the door.
I did not take a true "before" picture because I don't have that kind of forethought, but here's a picture of the garage from January after I installed a new light bulb. The "bulb" consists of three rotating/folding light panels and it is very bright. I love it. I used to hate being in the garage because it had a super dim light. It didn't occur to me to change the light bulb until over a year later; for some reason I thought I would have to replace the entire fixture or install a hanging light fixture. But I saw this style of bulb when browsing for hanging light fixtures on the Home Depot website and was like, wait, this is perfect??? Why have I not seen such a thing before???
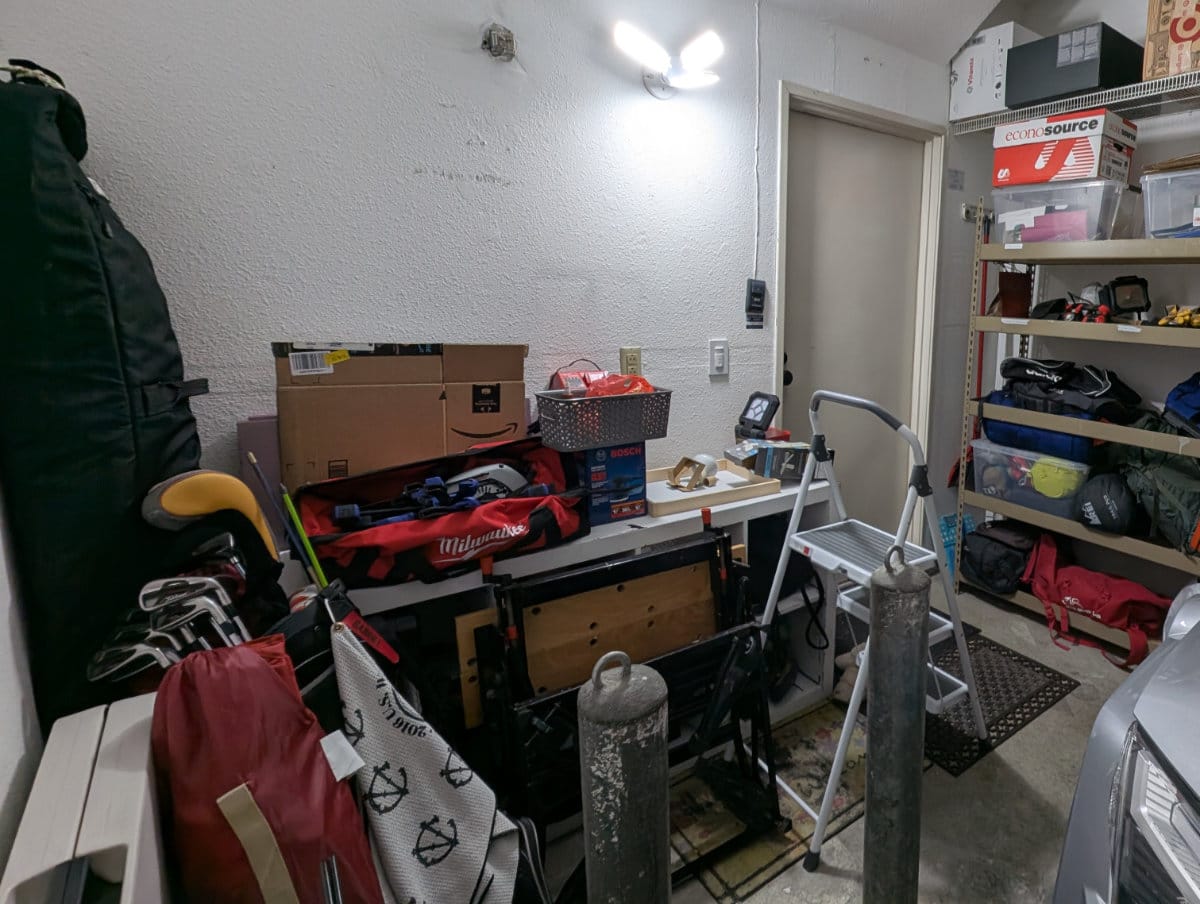
Anyway, even without the stepladder in the way, the "working area" of the garage feels cramped. (To be fair, there just isn't a lot of space.)
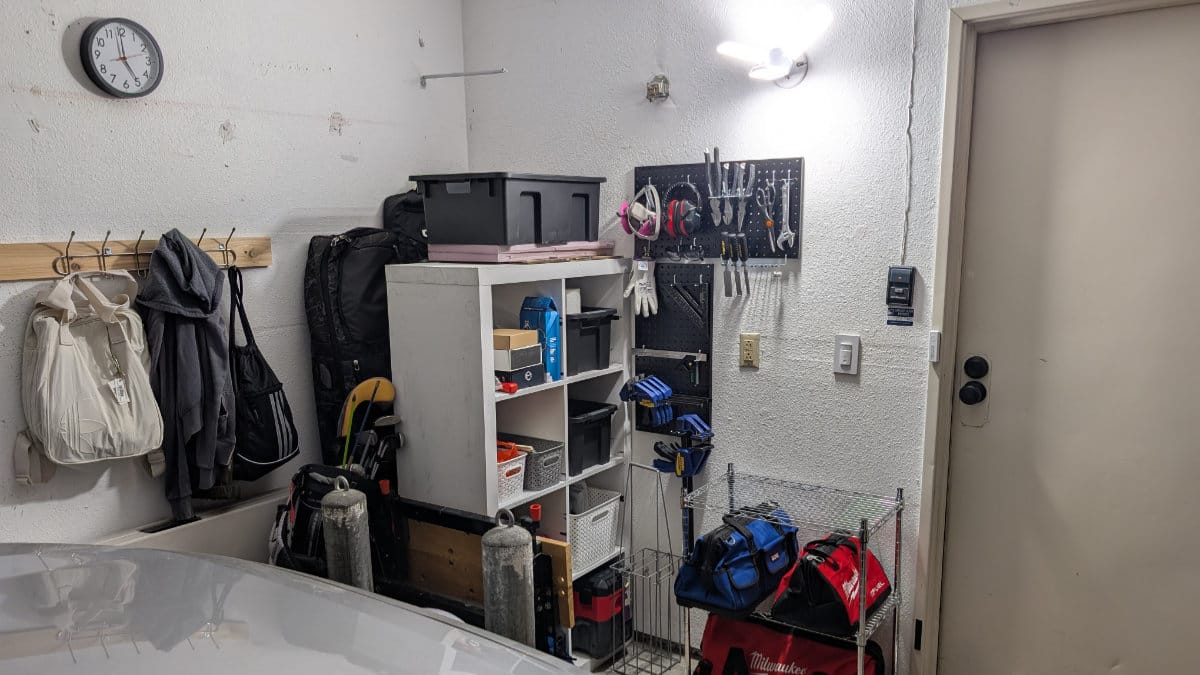
After the reorganization, I moved the 2x4 shelf to be vertical and perpendicular to the wall, and added a 2-tier wire shelf. There is technically less walking space, but somehow it feels more spacious.
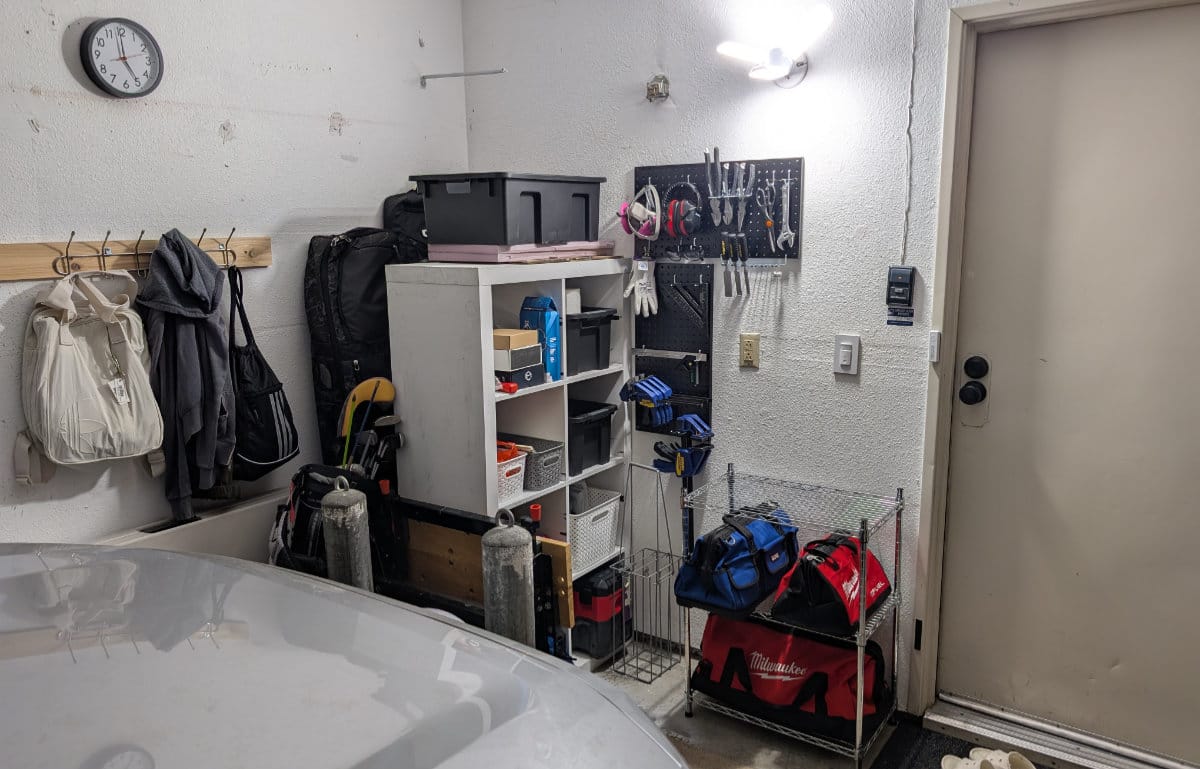
I think the wire shelf makes the area feel more open because you can see through it. The snowboard bags are also hidden behind the 2x4 shelf. And all cubbies on the 2x4 shelf are accessible now. Previously most of the cubbies were blocked by the folding workbench, so I had to move the workbench anytime I wanted to find something.
Here's some different angles to see more details.
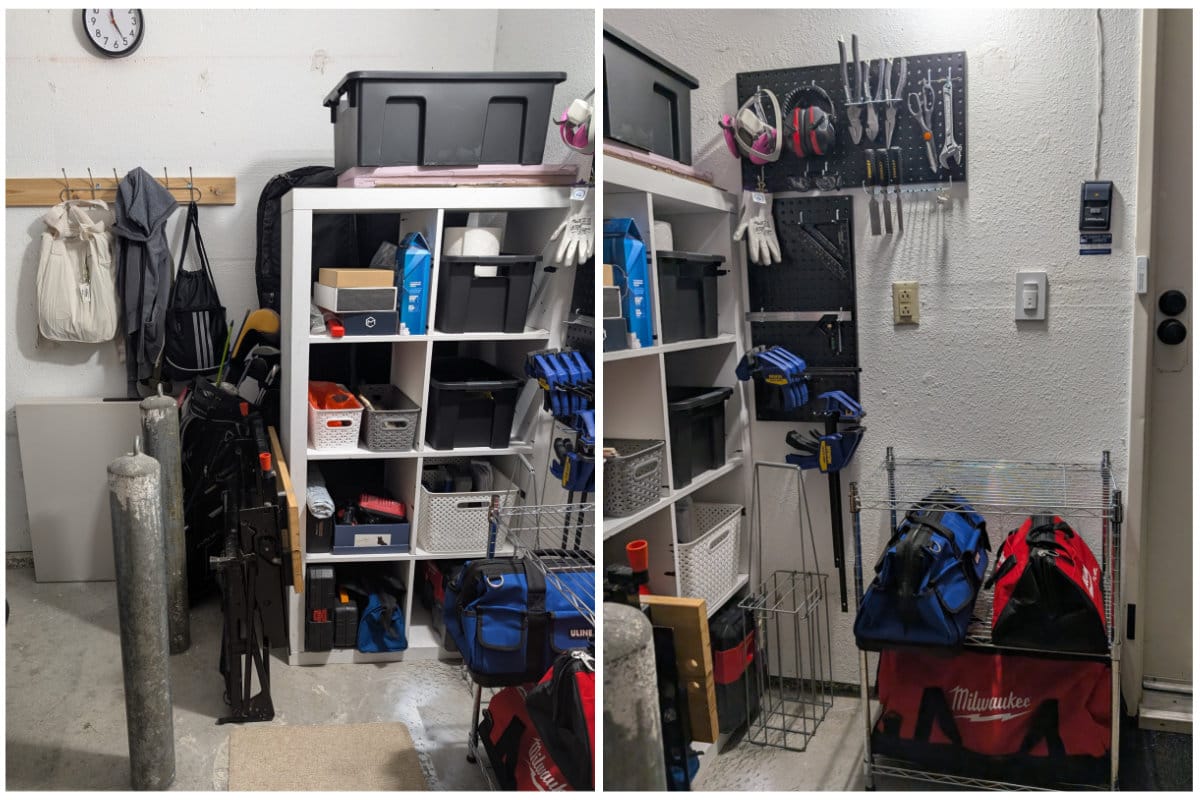
My favorite part of the pegboard arrangement is easy access to protective gear and clamps. Protective gear used to be in a box, which I had pull out of a cubby and then fish around for them.
The Cat Scratcher
We order a lot of things online. As such, we accumulate a lot of cardboard boxes. A year ago, I thought it would be fun to make a cat scratcher from the cardboard I would have otherwise recycled. So I haphazardly cut strips (just eyeballing them, no measurement) and shoved them into a box, but when Poshie tried to use it, the strips all fell out.
I realized I needed to glue them together. So I ordered a hot glue gun. But by the time it arrived, I had lost interest in making the cat scratcher.
Typical.
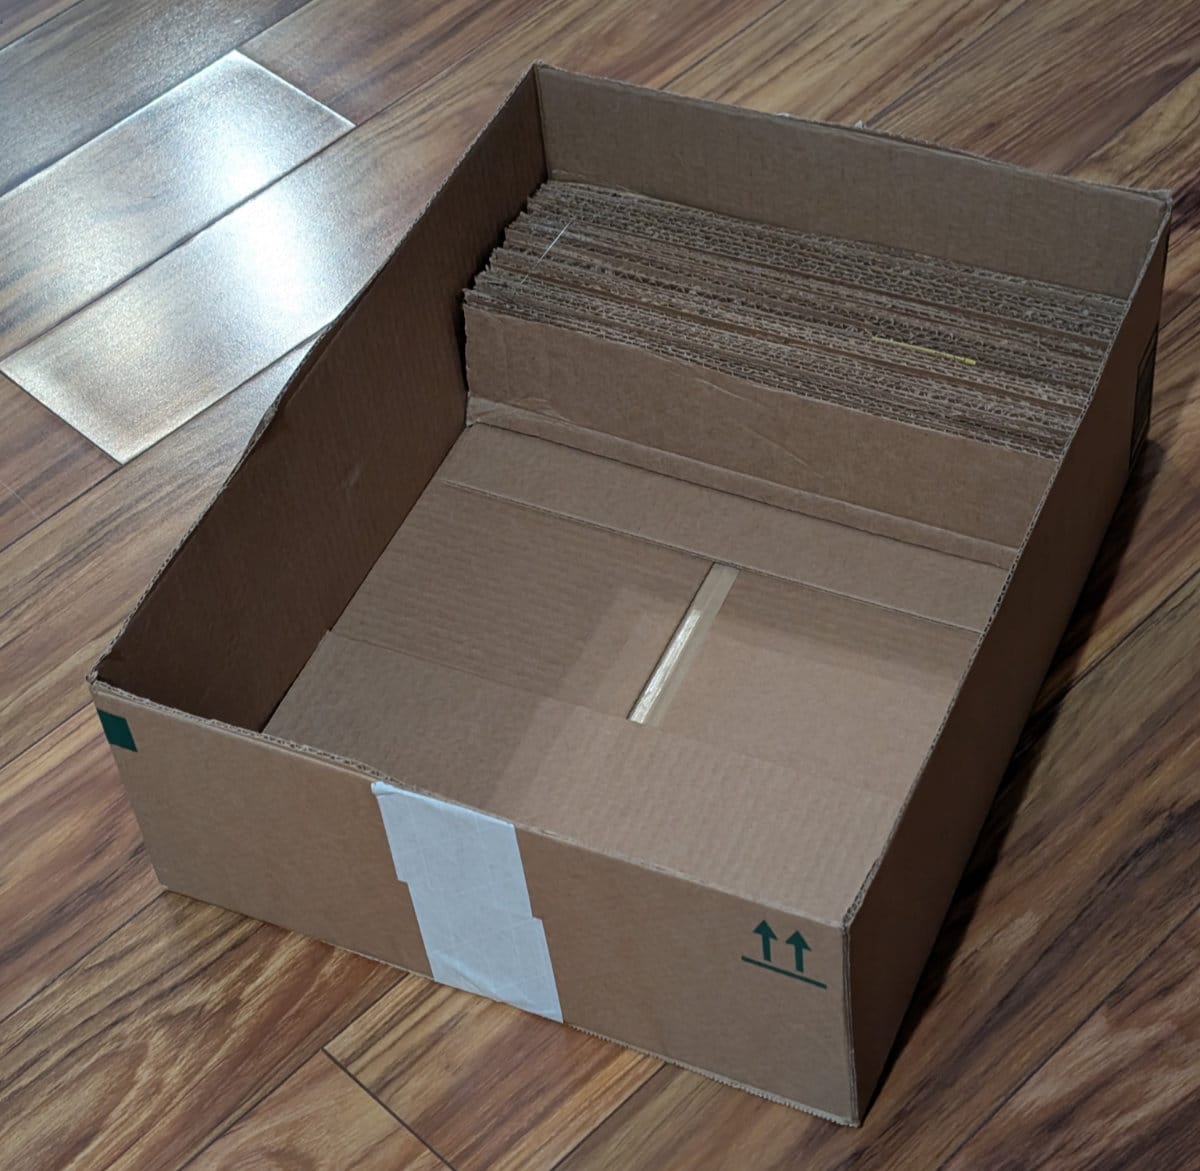
Then, two days ago, I was cutting up boxes to recycle and the idea to make a cat scratcher came back in my mind. (I also recently opened the hot glue gun and put it away with my craft supplies; I had left it on my desk still in the packaging for over a year... so that might have inspired me too.) This time, I used a clear ruler (that I recently bought for sewing) to measure and cut the strips accurately. Then I glued them together and to a box.
And ta-da!
We have DIY cat scratcher!
But will cat use DIY cat scratcher?
Yes!
I put it next to the corner of the couch that is Poshie's favorite spot to scratch in hopes that she will stop scratching the couch. I don't have picture evidence of it, but Isa has also used it.
I am also thinking of putting a cushion on the other side of the box so they can lounge and scratch at the same time!!!
I hope my cats love me as much as I love them.