Matching Pajama Shorts (Part 1)
For Christmas, I made my partner and myself matching pajama shorts. This involved some preparation that began at the end of summer.
Step 1: Picking a fabric
I had the idea to sew matching shorts for my partner and myself after I sewed my first pair of shorts. I just thought it would be fun goal.
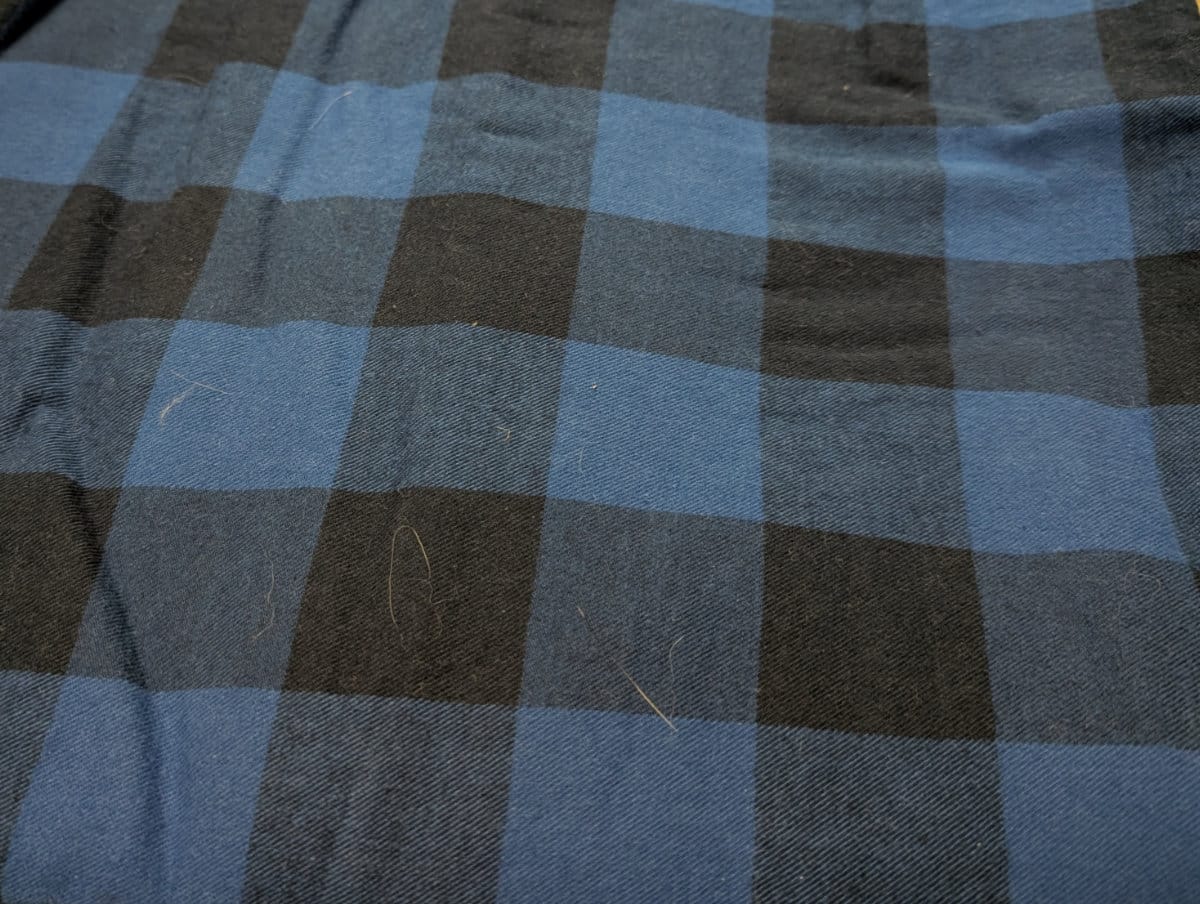
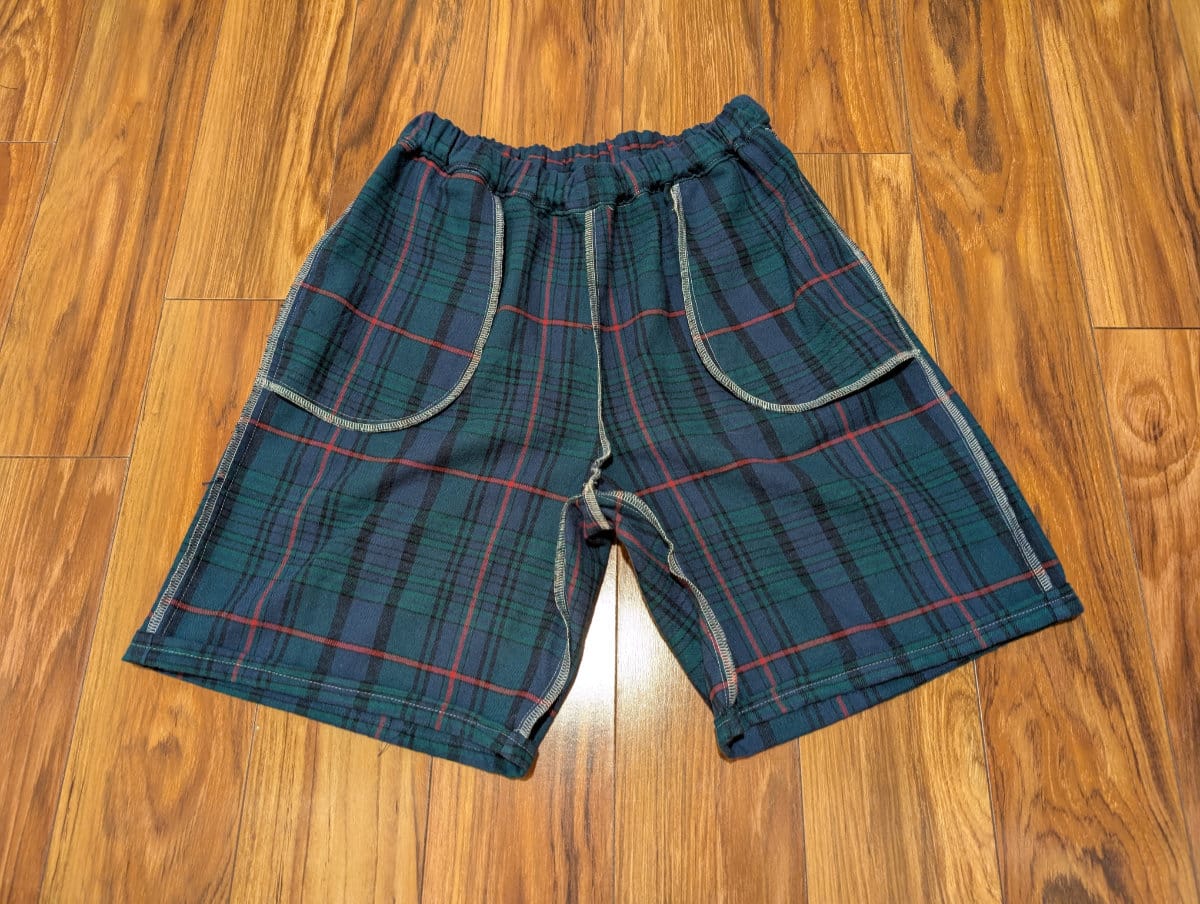
I bought this blue & black plaid fabric from Fabric Mart during one of their 65% off + $5 shipping sales at the end of August, and had been making progress on and off. It's supposed to be shirting fabric, but for pajama shorts, I imagined that the light weight would be very comfortable.
It didn't have to be for Christmas, but Christmas seemed like a reasonable deadline. It would be a gift in two ways. First, it's a custom-made garment, made with my very own blood, sweat, and tears. Second, it is a gift of being able to be cute together in our matching shorts.
Step 2: Picking a pattern
Before I worked with the "good" fabric, I had to find a pattern with multiple sizes (ideally free) and test it on other fabric. The pattern I used for my first shorts was ok but I didn't want to use it again for this.
- It only had one size and I wasn't ready to dabble in pattern grading (scaling the size up or down).
- It had a feminine fit. I would need a unisex fit for my partner. And it would be simpler if I could use the same pattern for both of our pairs for consistency.
- It did not have pockets. I asked my partner how he felt about shorts without pockets and he looked at me like I was about to commit a crime against humanity.
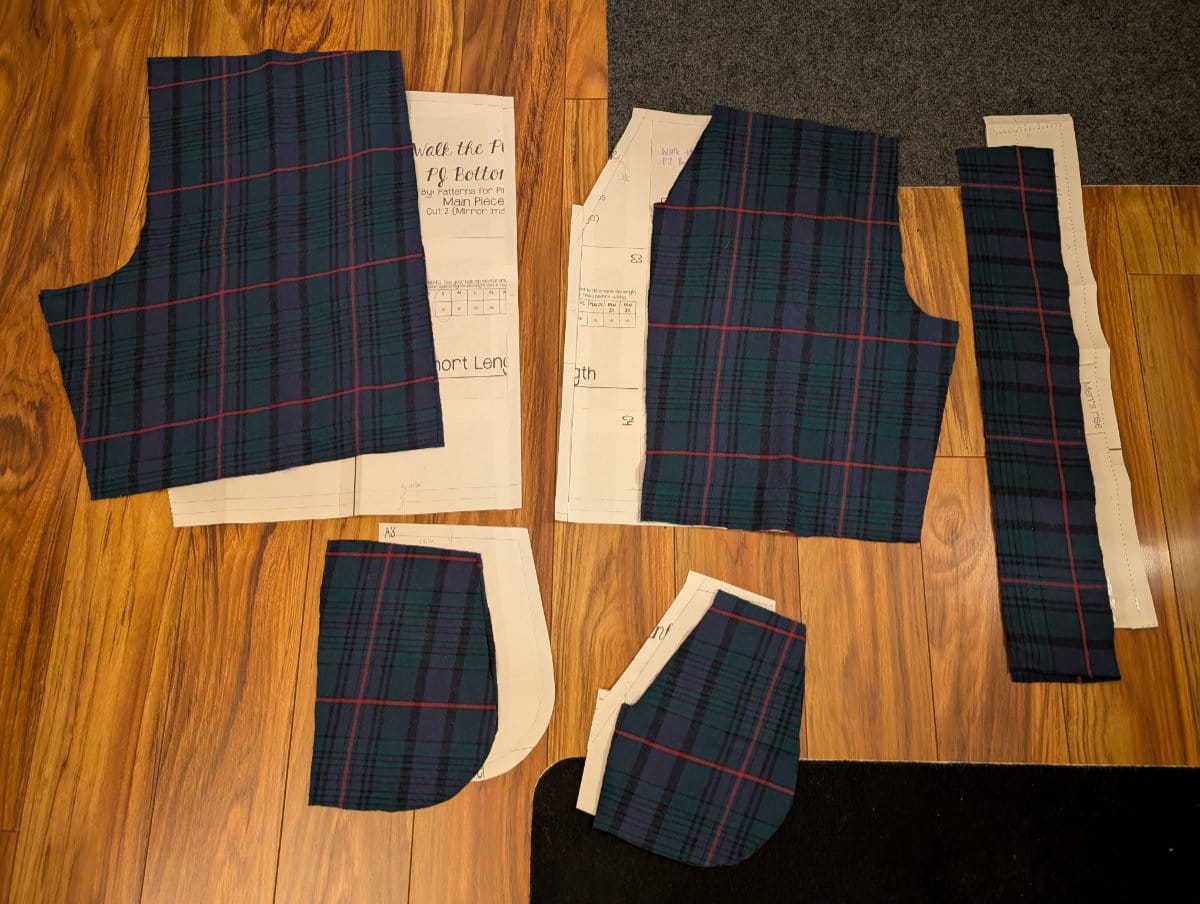
After some googling, I came upon the Walk the Plank PJ bottoms by Patterns for Pirates. It was free, it seemed fairly popular, and it even included different rises and lengths. It did not have pockets. But I did not find any other free patterns with pockets, or pockets that I liked.
However, from my research, it should be doable to add in-seam pockets to anything! The catch was that the Walk the Plank pattern did not have side seams. But it should also be doable to add side seams to anything!
And that is how my pattern hacking journey began.
Step 3: Testing in-seam pockets
The first toile I made was a size x-small for myself. It is a wearable toile, which means that I made the whole garment without skipping any parts or intention to deconstruct it later.
The first set of adjustments I made to the pattern:
- Split the pattern into front/back halves to add a side seam.
- Add extra 0.5-inch seam allowance to waist. I did not follow the instructions to directly sew on the elastic because making an elastic channel is easier. I wanted extra seam allowance to fold over and hide the raw edges inside the channel.
- Draft a pocket from a random pair of shorts in my partner's wardrobe. The length of the pocket was limited by the 2-inch inseam length.
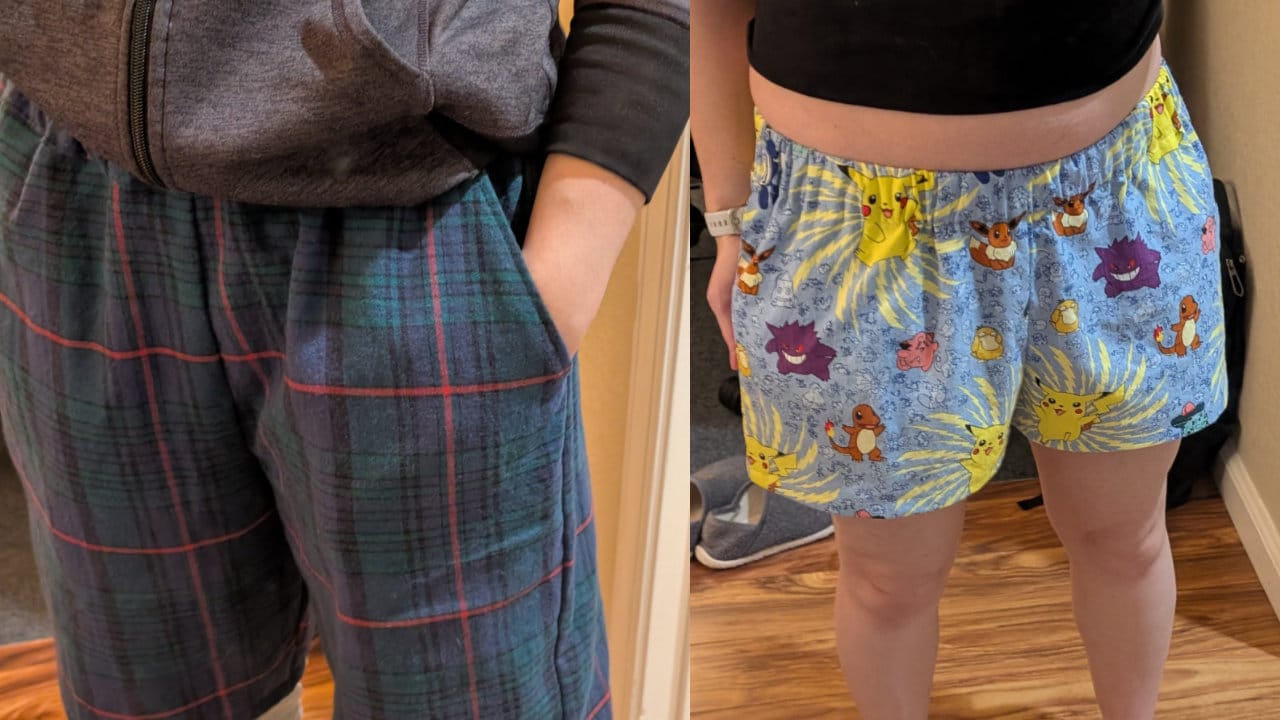
I used a fun Pokemon fabric (could be considered vintage; it reminds me of the bed sheets of my childhood) that my friend gifted me. I had just enough fabric, so there wasn't much room for pattern matching. As a result, the design on the back is rather unfortunate...
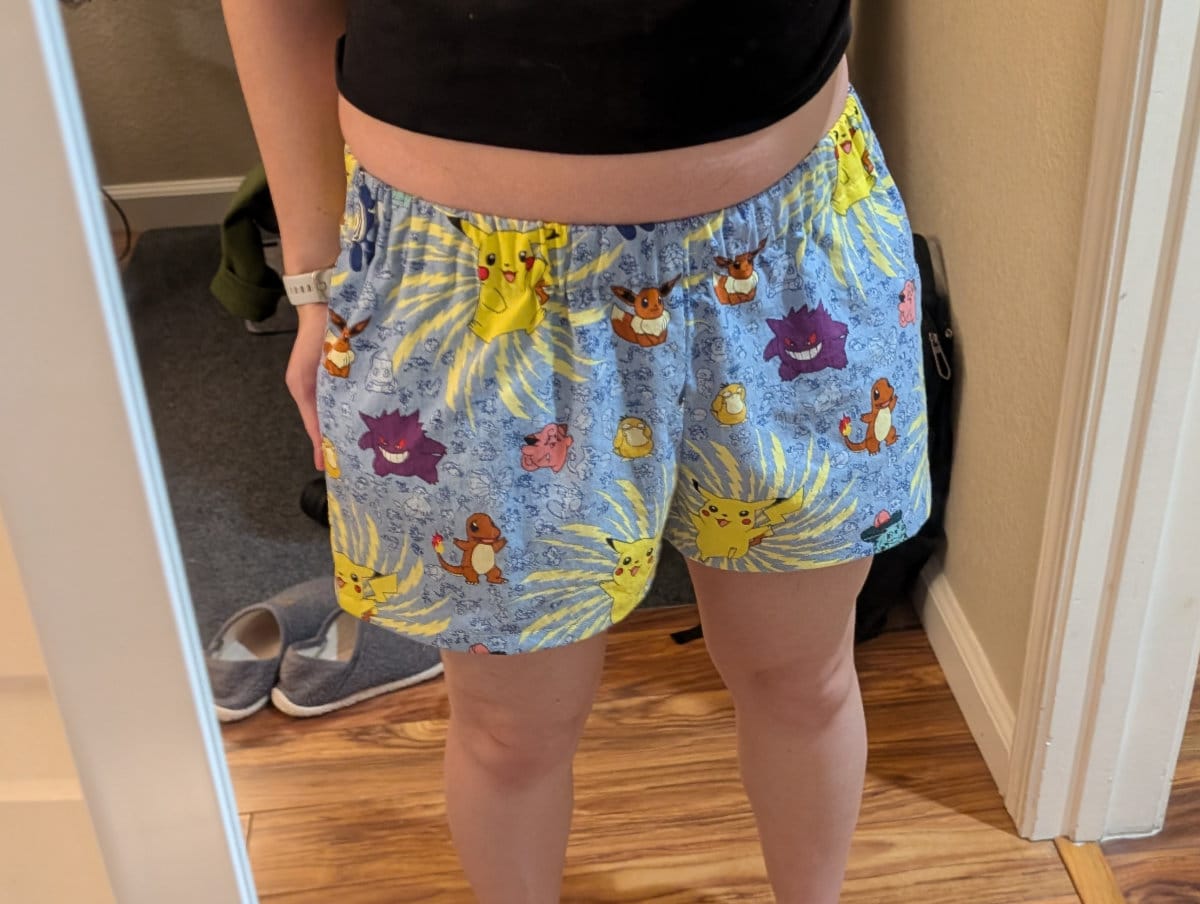
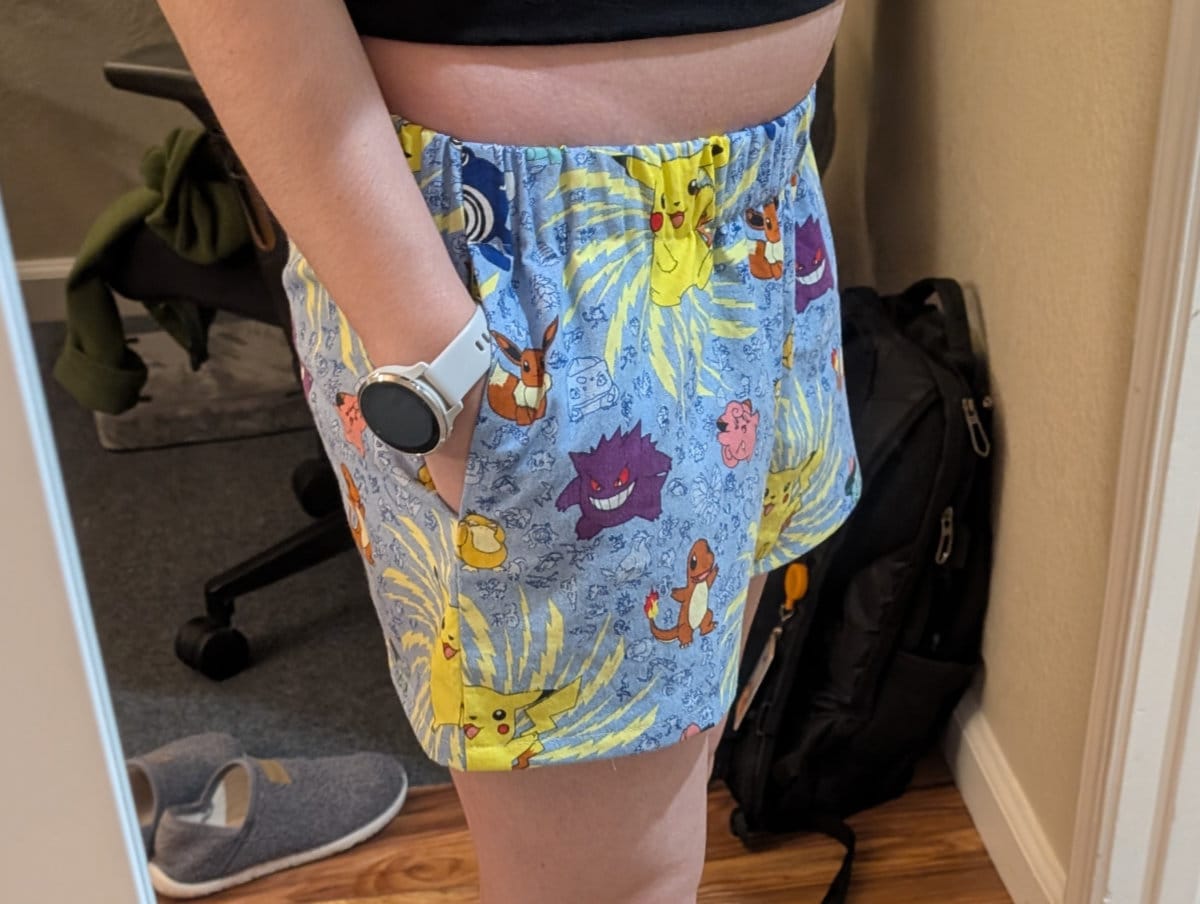
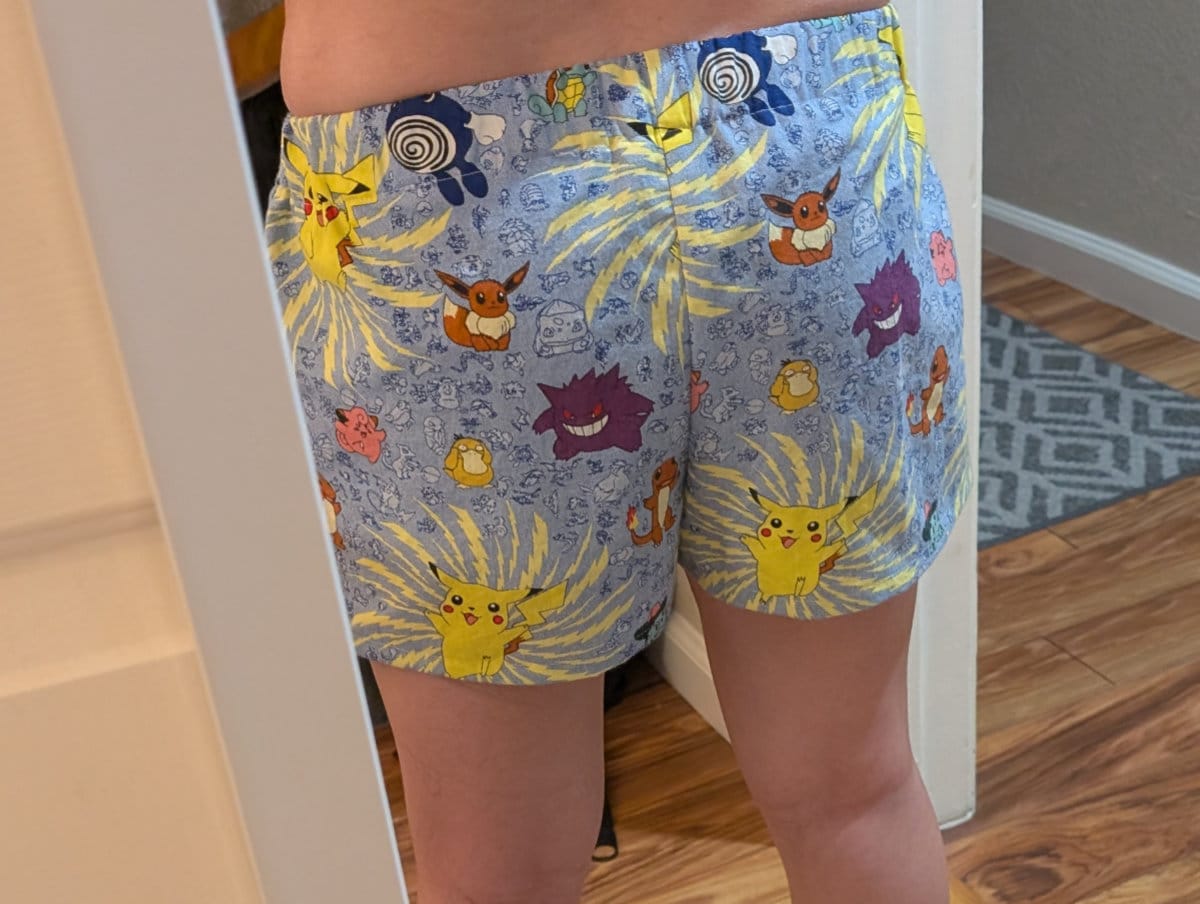
The first toile.
Overall, they ended up fine. The rise was a little low, so I would adjust that on the final version.
I didn't love the pockets though.
Part of the issue was the construction. I looked at various guides and patterns and combined different ideas together so the pockets would have an opening at the side seam, but also be sewn into the side seam and the waistband. I couldn't quite wrap my head around how where all the seams started and ended.
Part of issue was the side seam being too far back, so I had to pull my hands backwards more than I'd like to reach the pocket openings. I could move the side seams more forward.
But what I really wanted was slant pockets. This is the style of pocket I see on most of my store-bought pants.
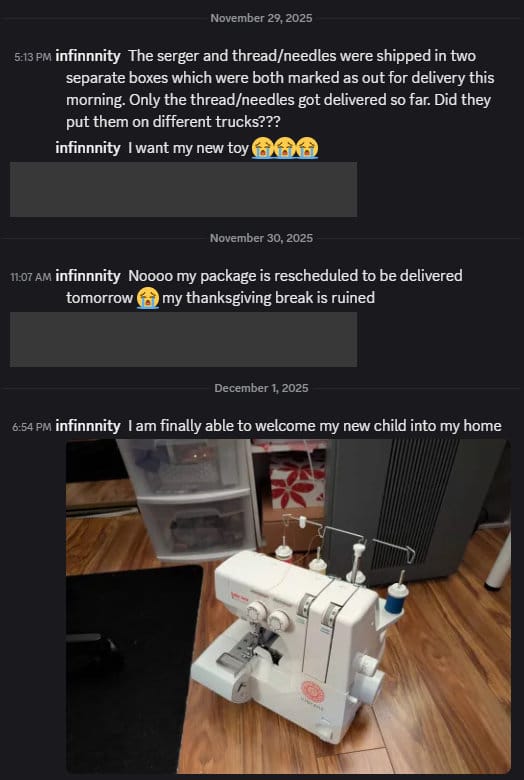
Step 4: Buying a serger
Before Thanksgiving, I took the plunge and bought myself a serger, also known as an overlocker or overlock machine. It is a sewing machine that specializes in finishing seams with an overlock stitch, which you can mimic on a regular sewing machine with a zig-zag stitch or a faux overlock stitch, but it's not really the same. It is also good for sewing stretch fabrics, which I plan to do one day.
I originally started researching sergers without any intention to buy in the near future. I also looked at sergers on Facebook Marketplace, which led to more research, especially on older vintage models.
I just wanted something entry-level without any fancy features. I'm not running a business or switching between multiple projects where I need automatic features (air threading, automatic tension) to save time. I would have to pay over $1000 to get those features. Buying a used machine also wasn't saving a whole lot of money and might require paying to get it serviced, so I most likely wanted a new machine.
I had narrowed it down to:
- Brother 1034D or 1034DX. Probably the most entry-level serger on the market and the cheapest at $300, which makes it very popular. It has mixed reviews though.
- Juki MO-654DE. I saw this mentioned a lot as well and had much better reviews. I actually don't remember seeing any negative reviews. It's still in the "budget" range of sergers, but more expensive at around $450.
Most discussions I read said you can't go wrong with Juki or Baby Lock, so I was leaning toward the Juki. So far I had only seen the expensive Baby Lock models which start in the $1000 range, even if you buy it used. I was already looking up where I could buy the Juki when I came across mentions of the Baby Lock Vibrant. Somehow, I completely missed that Baby Lock had an entry-level model!
I checked prices on it, and at normal price it was around $450, which is comparable to the Juki. But there were some pre-Black Friday sales going on, and I saw it for $360! Price aside, it looked less intimidating, had a built-in thread cutter, and a seam guide. I also read reviews that it is very easy to thread. So I purchased it that evening. The store I bought it from even included four spools of serger thread and 20 needles (would have cost around $25 on Wawak), so that saved me an extra transaction.
I provided updates to my friend, who is my sewing hobby purchase enabler.
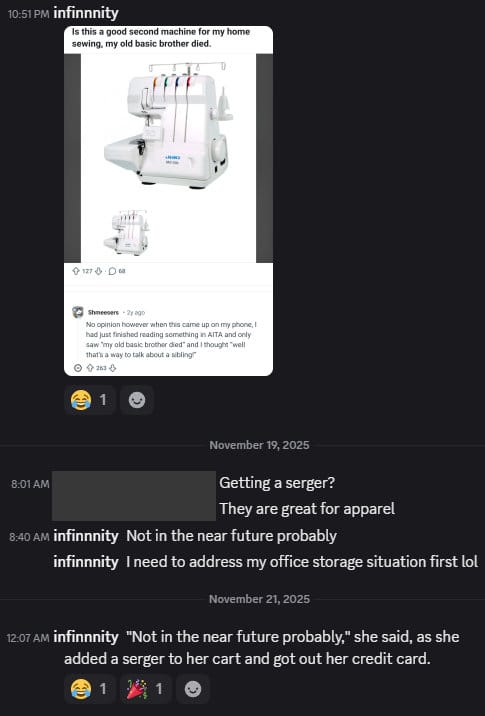
"Not in the near future probably," she said, as she added a serger to her cart and got out her credit card.
The office storage situation was not addressed. I now have two sewing machines taking up real estate on my craft desk. Apparently this is what life in my thirties looks like.
Step 5: Testing slant pockets
The second toile I made was a size small for my partner. Again, it is a wearable toile.
The set of adjustments I made to the pattern:
- Remove waist from pattern and create a separate waistband piece.
- Reduce inseam to 8-in. The original inseam for knee-length shorts was 12-in.
- Split the leg into front/back halves to add a side seam. I made the front a little narrower than the back this time, so the side seam is a little more forward. I had split it right in the middle on the first one.
- Add a slant to the pocket front.
- Add a slant to the leg front.
For the slants, I made the piece flare back out to a right-ish angle at the seam allowance. My intention was for the extra bit of fabric to strengthen the construction and that the corners would ultimately be hidden in the seam allowance. However, it was really unnecessary and added complexity to construction. And the corners did not get hidden in the seam allowance, although I think that was just due to me being bad at lining up the layers and actually sewing seams at the correct distance.
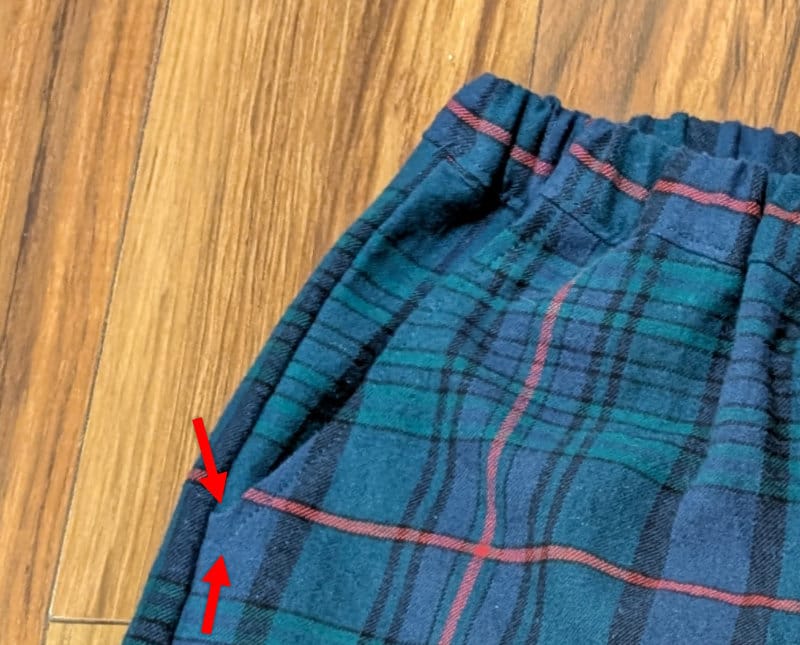
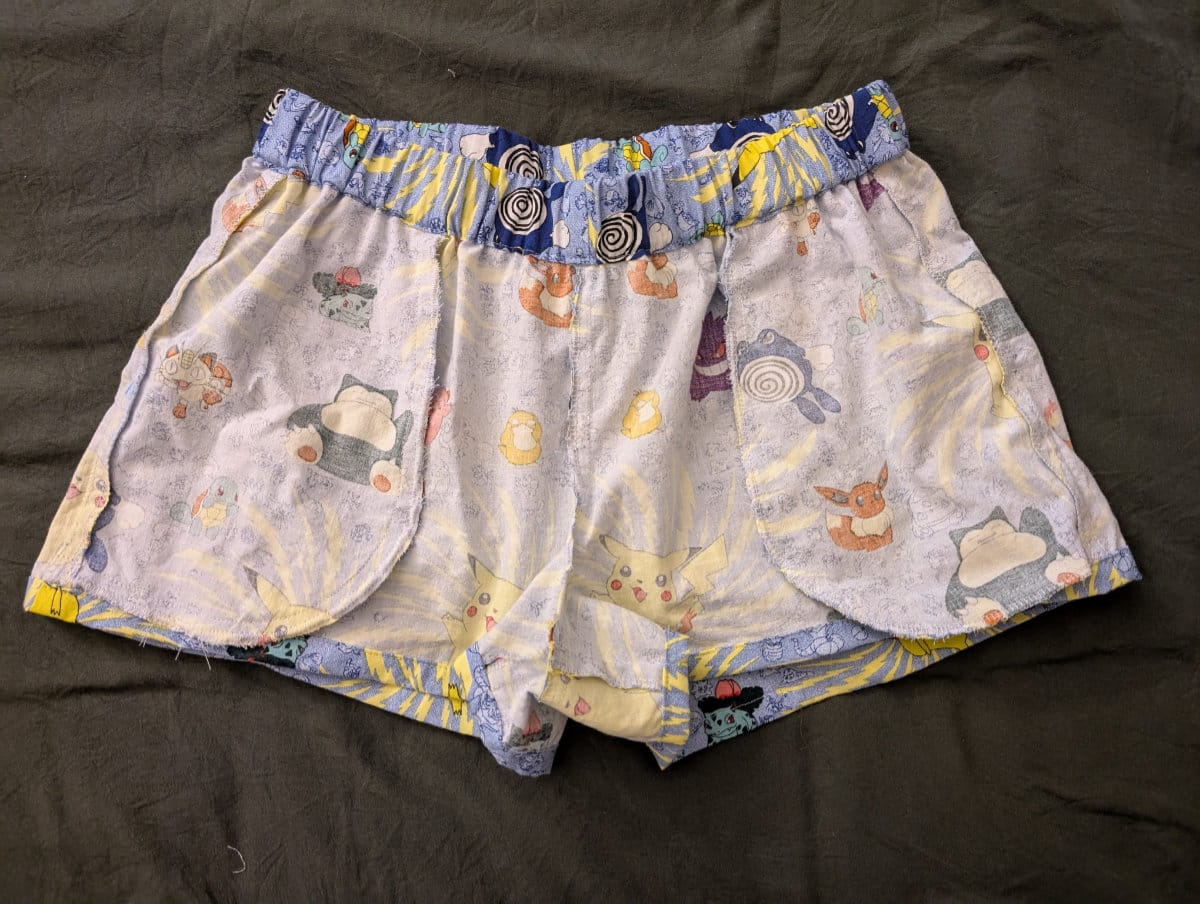
It's hard to see in the picture, but you can see at the bottom of the pocket there's a little flat segment. This displeases me. A lot. Because I want to be a good sewist, not a good-enough-so-it's-functional-but-please-don't-look-at-the-details sewist.
But besides that, they turned out well.
I used my new serger to finish all the seams, and my goodness, it was was glorious. On my regular sewing machine, it took me soooooooo long to finish seams with the faux overlock stitch, which looked better than a zig-zag but still wasn't great, and took forever to undo if I needed to open the seam for whatever reason. Serger? No problem. I swear it is like 10x faster, and it looks amazing because it trims off the excess fabric.
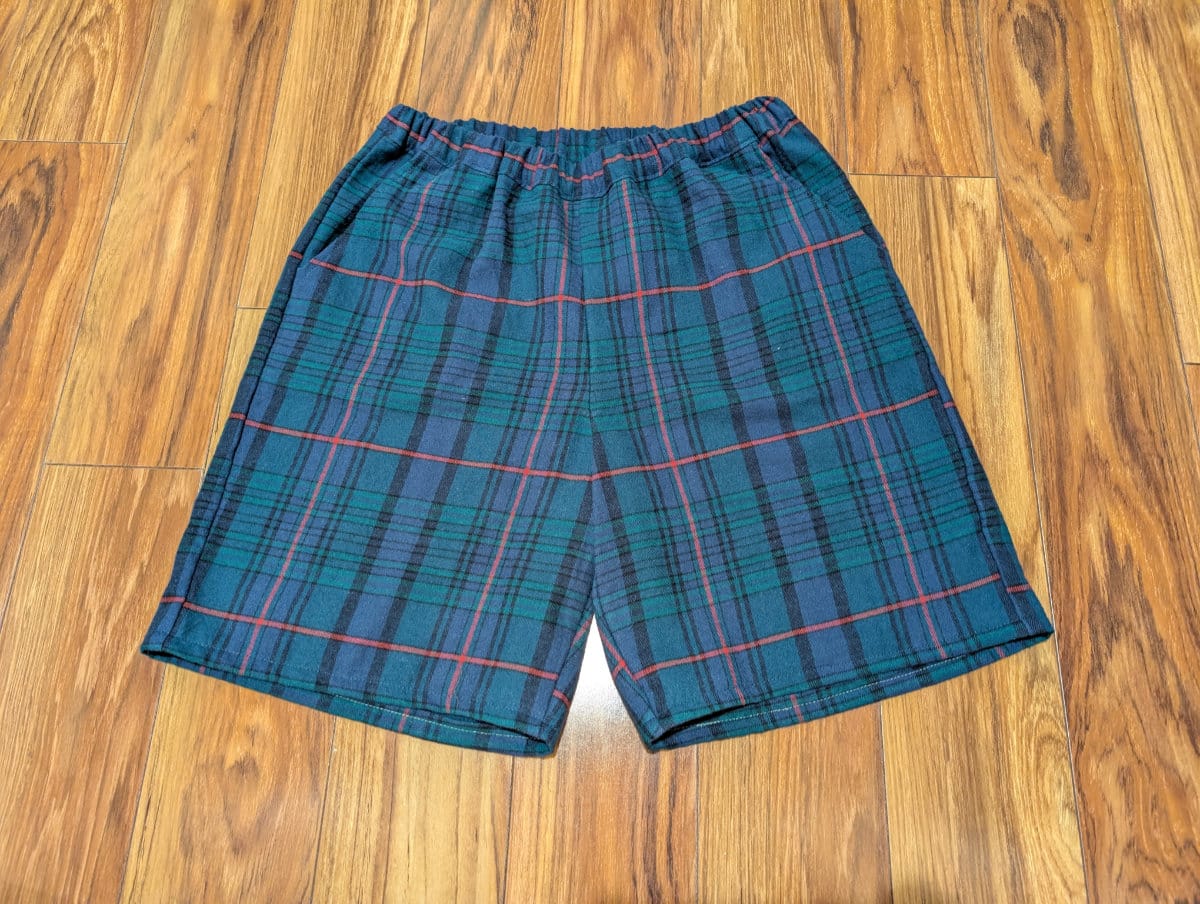

The second toile.
I am not bothering to color-match the serger threads at this stage in my life because they're on the inside anyway. I didn't color-match the bobbin thread on this toile either because I was lazy. I'll do it properly on the final version.
I had my partner try them on. The size, waistband, and inseam were perfect. But he expressed discontentment with the pockets.
"What are these, pockets for ants???" (P.S. He did not actually say that, but I am certain that is how he felt.)
I used the same pocket pattern as I did for my shorts, and had made the pockets as deep as I could for a low rise with 2-inch inseam. But his shorts had a high rise and a 8-inch inseam, so I could have made them much deeper, but I did not think about it until it was too late. At that point, I did not want to deconstruct my work. Although maybe I should have.
I also accidentally made the waistband for 1-inch elastic because... I honestly don't really know why. I either forgot that the instructions called for 1.5-inch elastic, or I forgot I had 1.5-inch elastic. And so I drafted the waistband for 1-inch.
Mistakes were made. But that is exactly what toiles are for!