Rectangle Top with Mystery Flannel
I bought three pounds of mystery fabric and used one of them to sew my first top.
I wrote this post incrementally as I worked on it. But it took me a while to get around to writing the last part and revising everything.
I was tired because one of my cats peed on our bed (the bed that the humans sleep on) and we had to clean it a few times. Then I started working on (and finished) my first "real" woodworking project. And now I'm procrastinating on preparing something for dinner after eating two slices of cake, so here we go~
Part 1
A month ago (at the original time of writing this, but now it's two months ago), I ordered a mystery fabric bundle from Sew by Sew. Specifically, I ordered the Three Pound Mystery Bundle with mystery colors and cottage core aesthetic. The site advertises that the average package contains around 9 yards of fabric.
I received about 8.417 yards, which I suppose is close enough to 9.
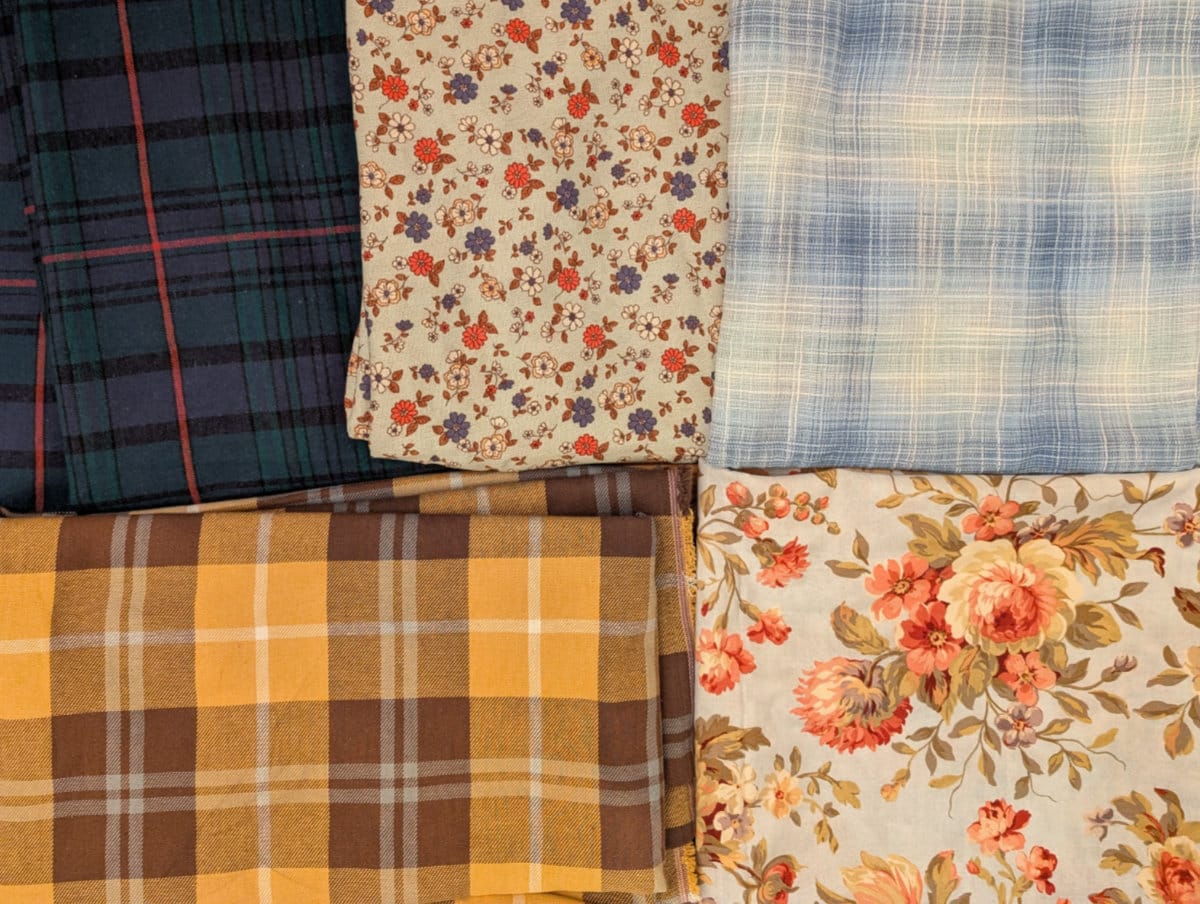
I paid $26.14 (during a 25% off sale), so it came out to around $3.12/yard, or $3.42/yard if you include tax. This was an amazing deal considering I don't hate any of the fabrics I got. (Although rayon crepe is back to haunt me.)
Also a month ago, Sewing Therapy released a new pattern for the rectangle top.
I immediately envisioned the blue/white plaid cotton gauze as a rectangle top. Very light and flowy. But summer is over and it's finally starting to feel like fall, so that isn't appealing right now. (Also, I am scared to sew with cotton gauze. I fear it will be like the rayon crepe but even worse.)
Then a few days ago I thought, wouldn't a soft flannel top be kind of nice? I don't have a lot of loose-fitting long-sleeve tops and I do want more. I think the yellow plaid flannel would be perfect. And I should have enough yardage that I can try pattern matching.
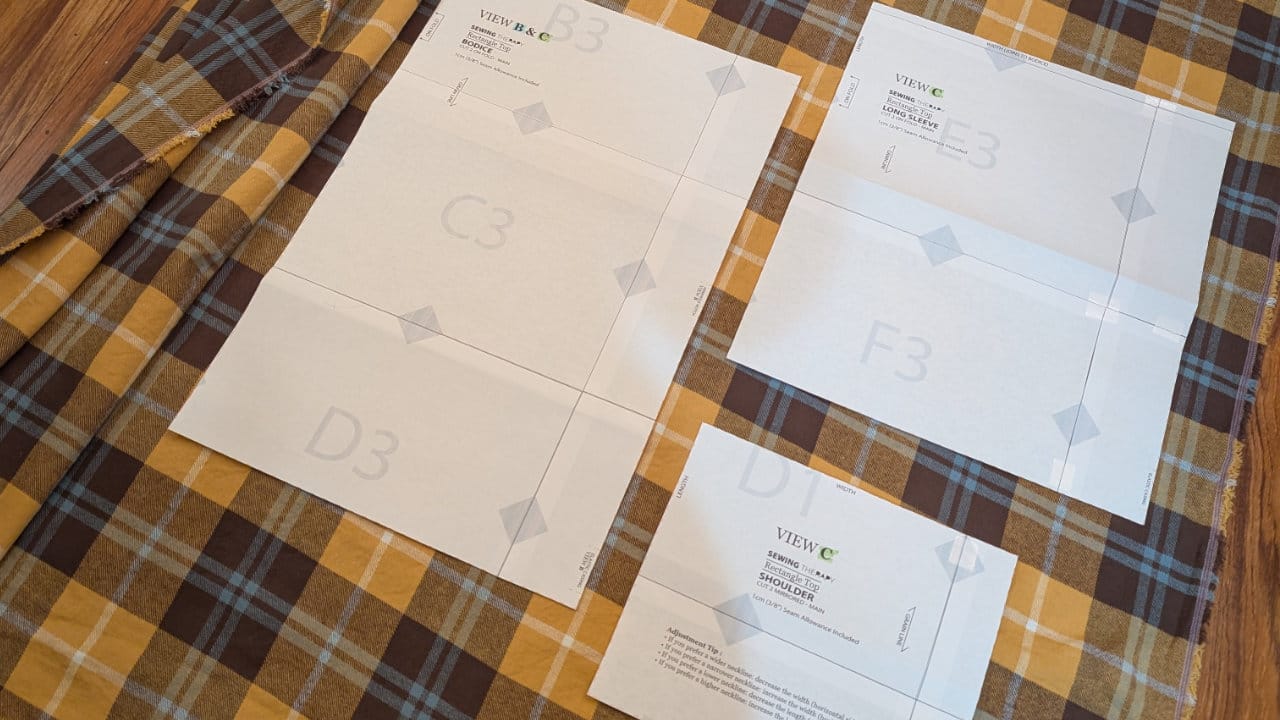
I decided to print out the pattern instead of just measuring and cutting out the rectangles. I have mild regrets. In some ways, it's much easier to print, tape, and cut because I know I will get almost perfectly straight lines. But it does waste a lot of paper (although I can save the scraps to make pattern adjustments). I also accidentally threw away the interfacing pattern piece because it looked like a scrap hahaha. Luckily it was just in the office trash so it was easy to dig out.
I also learned that the sewing police will not come after me if I don't cut on the fold like the pattern says, so I doubled most of the "cut on fold" pieces to cut flat instead. I didn't do all of them because I didn't think of doing it until after I finished the first piece and thought wow this is awful. Before, I thought it was awful because of my fabric choice, but now I am using a very flat and fairly structured fabric. It was significantly better compared to when I made the tie dress, but I felt like it was so much work to get the folded layers flat and lined up and I ended up with symmetrical trapezoids instead of rectangles. And it made pattern matching difficult.
After I cut the bodice and shoulder pieces, I put them together with clips to see which part of the fabric I wanted to cut for the sleeves. Then I attached the sleeves with clips and put it on to make sure it was going in the right direction.
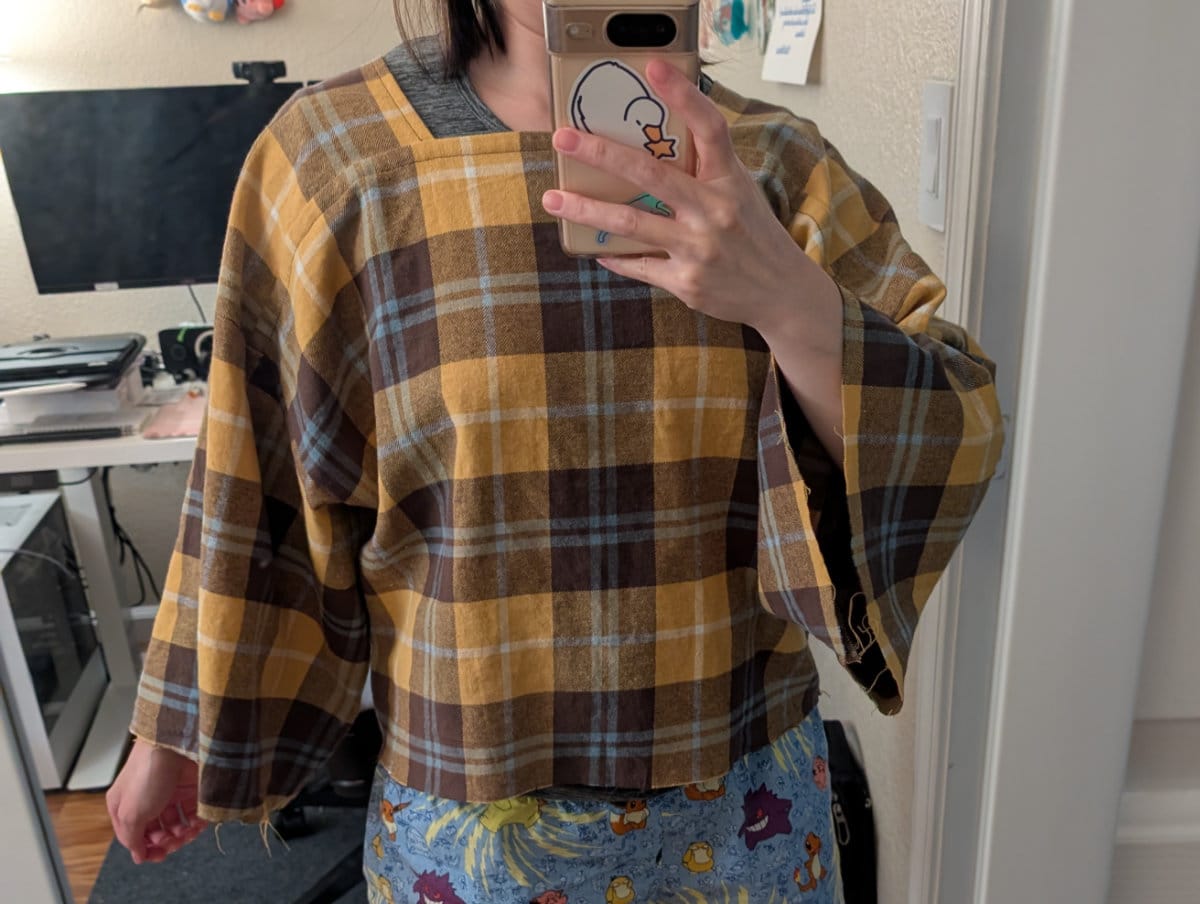
And it's looking good so far. You can also see a bit of my Pokemon shorts that I made. They are part of a longer term project I have, so you may see them again in the future.
At this point, I hadn't decided yet if I wanted a hemmed or elastic waist. It's the last step anyway, so I planned to wait until the end to try it with different pants and skirts to see which waist would match my wardrobe better.
Part 2
It is the weekend again, so I had time to continue. I assembled the bodice pretty easily. I did undo one topstitch on the first shoulder panel because I didn't put it close enough to the edge (the video was not very clear where to sew the line, but I suppose it doesn't matter too much either).
Then I worked on adding the sleeves. Finishing the seams took forever, but it was a good opportunity to use up my old thread because they wouldn't be visible anyway. But of course all my old thread was in neutral colors so they ended up matching haha.
I finally finished finishing the seams! I was inspecting my work when I realized something terrible.
I attached one of the sleeves with the wrong side out.
It's honestly hard to tell visually because the pattern is pretty much the same on both sides, but the right side should be fuzzy. I could have just left it as is, but I can't because I know it's wrong.
So I began my long journey of undoing a finished seam, which was an absolutely terrible experience. -5/10 would not recommend, but at least it was not impossible. I did not keep track of the time but I'm just going to say it took around four hours to undo all those stitches. Afterward, I marked the wrong side with a "W", which is what I had planned to do in the beginning but decided I didn't need to because I marked notches on the wrong side at the edges, but those apparently were not obvious enough and I have many regrets.
I think serger seams would be easier to undo than my fake overlock stitch, so I am highly considering a serger... but I really don't have space for one until I add shelves to my office closet. Or maybe I'll find a good deal on a serger around the holidays and be forced to start my closet renovation LOL.
Part 3
On Sunday, I finally had time to finish. I finished the sleeves, added elastic to the sleeves, and hemmed the waist. The most annoying part for me was finishing the seam along the sleeve and bodice because I don't think I clipped the curve very well, so there wasn't much fabric to grab onto when I straightened it. I think the issue is that I clipped it at various angles. Probably should have done them at relatively the same angle. Oops. I plan to make another shirt from this pattern, so I will do better next time.
Sewing the elastic casing closed was also annoying because there wasn't a lot of area to work with. But I managed after messing up only once (I sewed a very crooked line).
I decided against an elastic waist because I felt it would be too cropped. My style has also very much been tucking in the front of my shirts and leaving the back loose. I also think the elastic waist would work better on a lighter fabric.
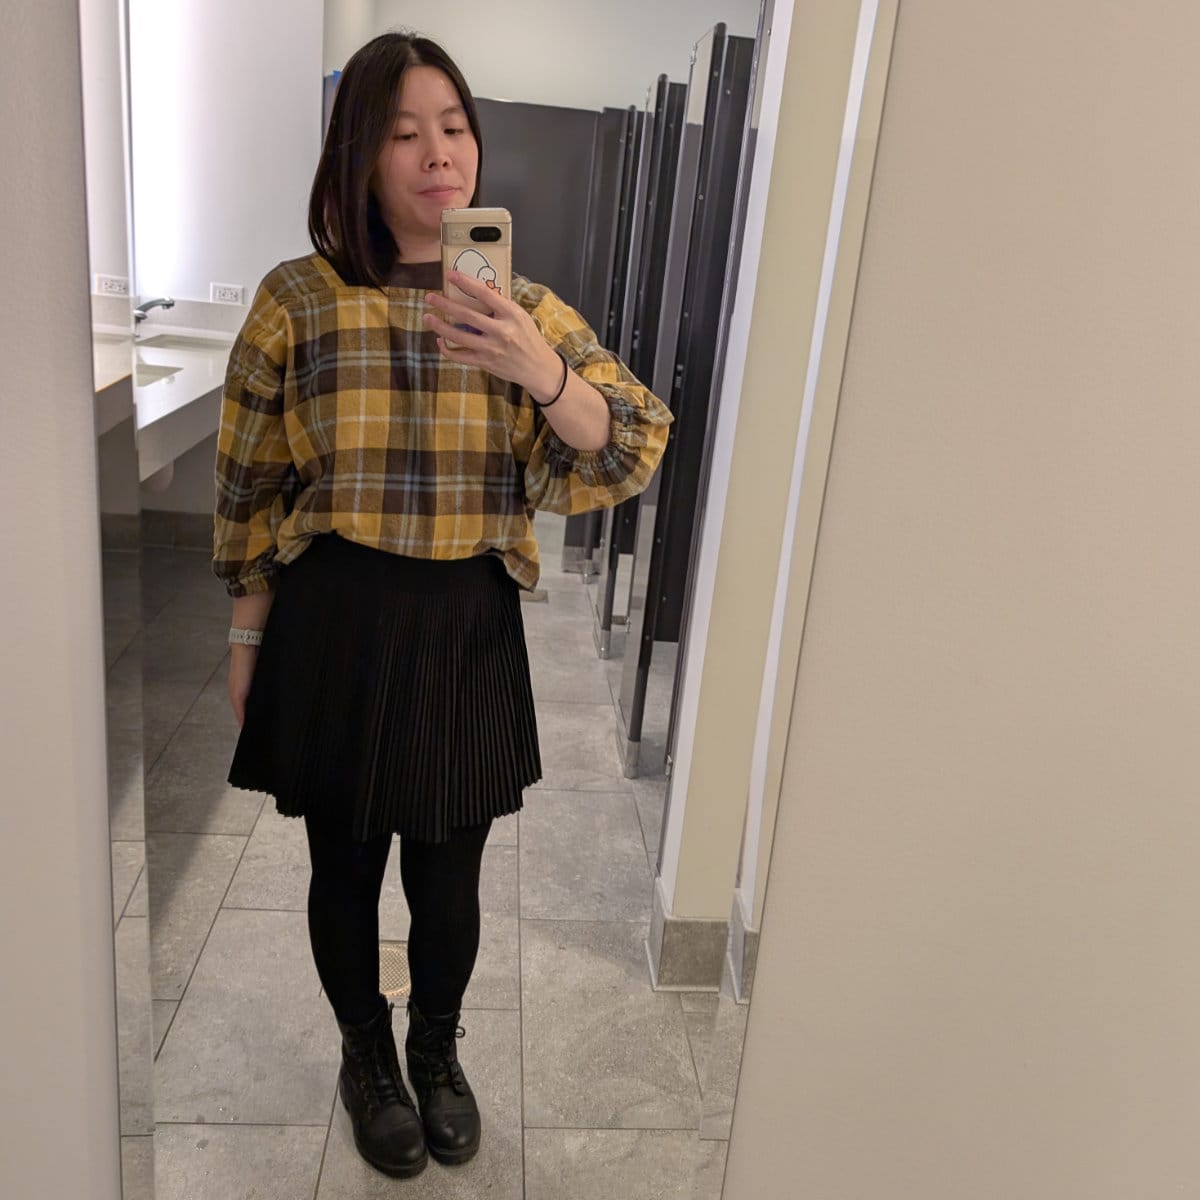
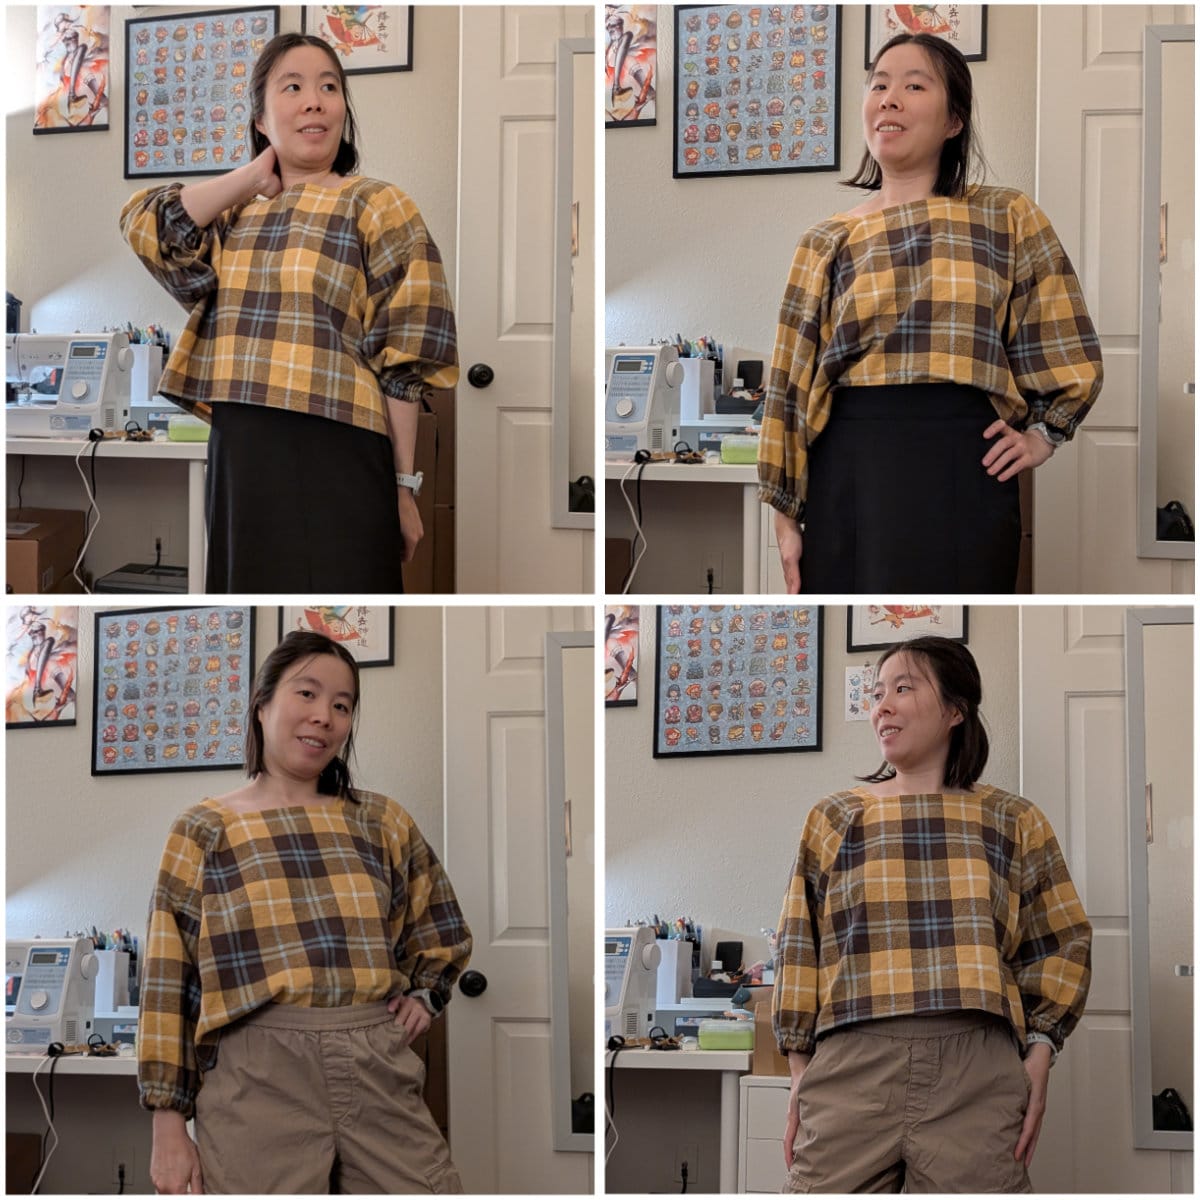
I think this pattern was easy to make and the result doesn't look too basic. And the plaid goes really well with the square neckline!
Some example of the top tucked and not tucked with skirt and pants.
Part 4
After wearing it out twice, I decided the elastic on the sleeves was too tight. I also restitched the casing because I realized that while stitching the casing down from the wrong side was easier, it looks a little better when done from the right side. I think this is what caused my lines to look fine until I flipped it right side out. All is well now.
This time, I cut the elastic like 1-1.5 inches longer. After pulling it through the casing, I thought I twisted it, so I untwisted it, then sewed the ends together. But it turns out it was fine and my "untwisting" actually twisted it, so I had to undo it and redo it again. Sigh.
Now the elastic is a little easier on my forearms lol.
Here's a picture of me wearing it at work after the sleeve adjustment. I also wore a long sleeve shirt underneath because it's cold these days and the flannel is not as warm as I imagined it would be.