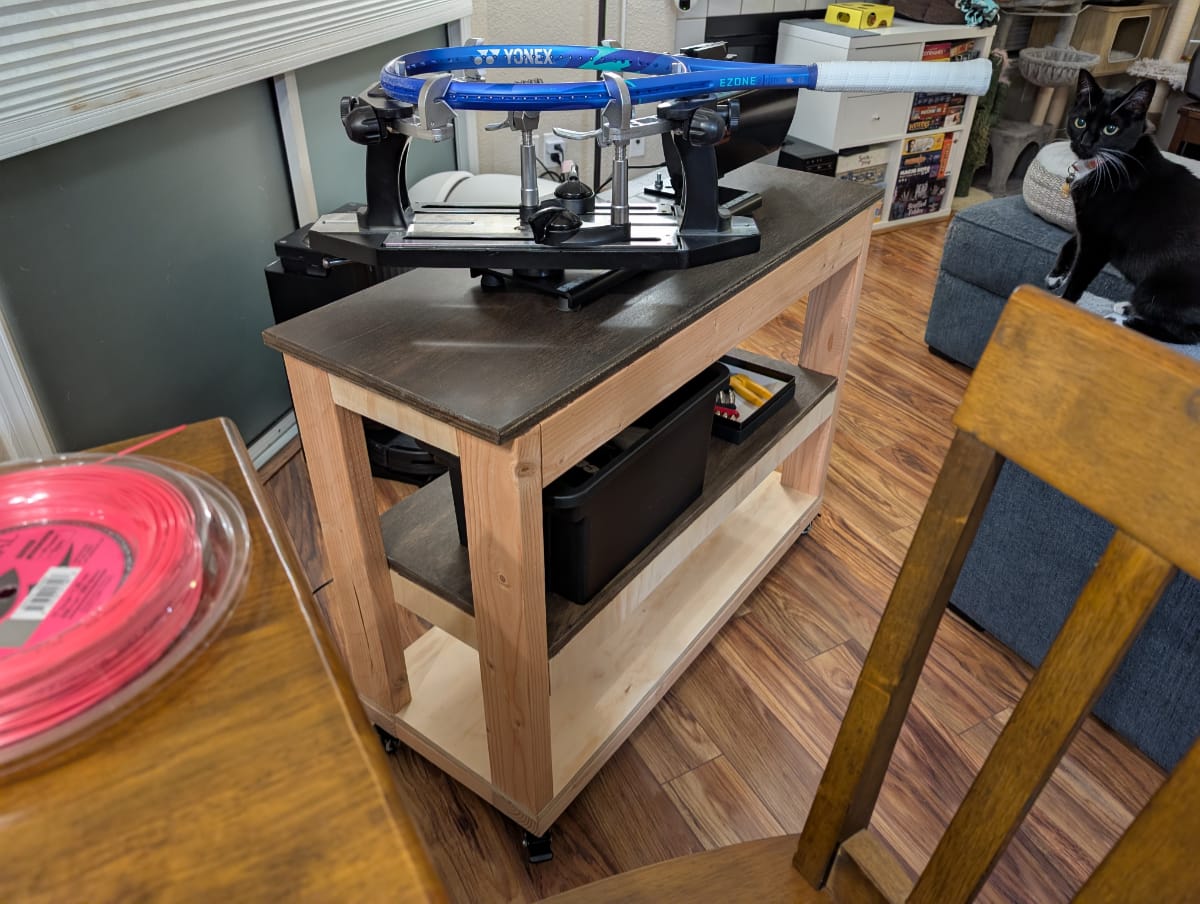
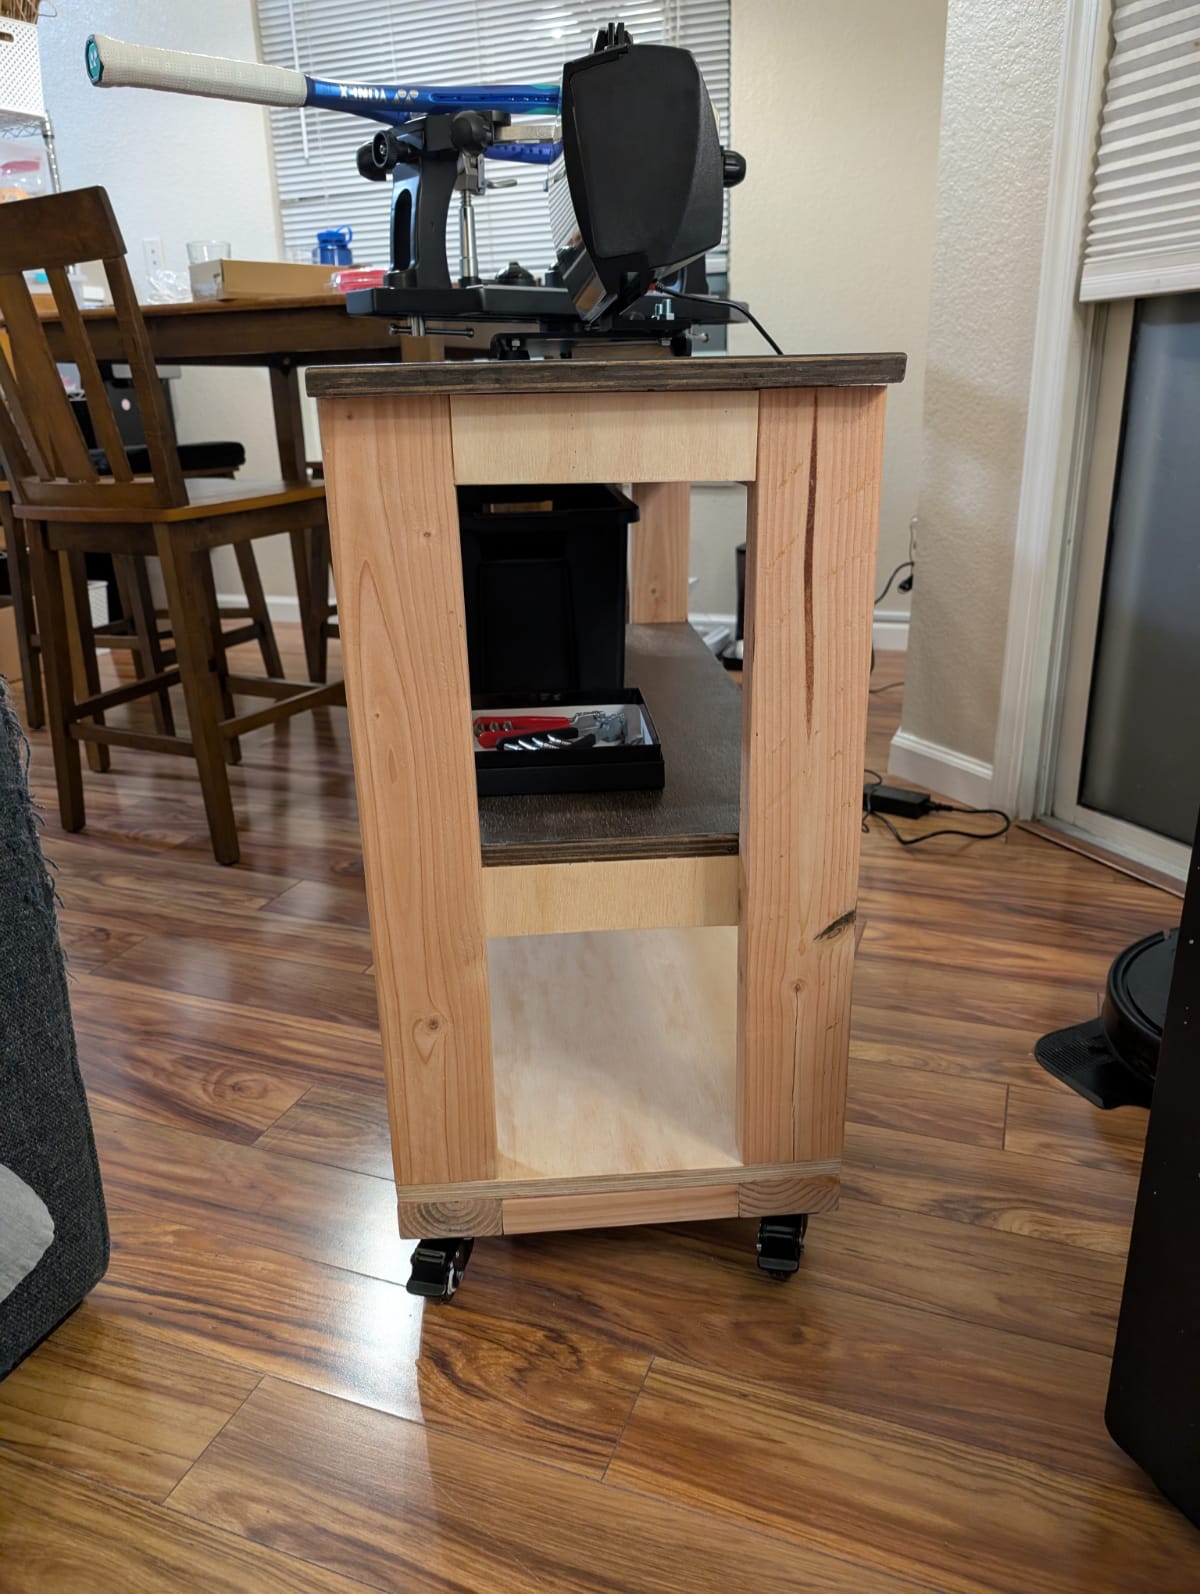
Tennis Racket Stringing Workbench
Do I play tennis? No. Do I string tennis rackets? Also no. But my partner does, and he needed a workbench that would fit (and look nice) in our tiny condo.

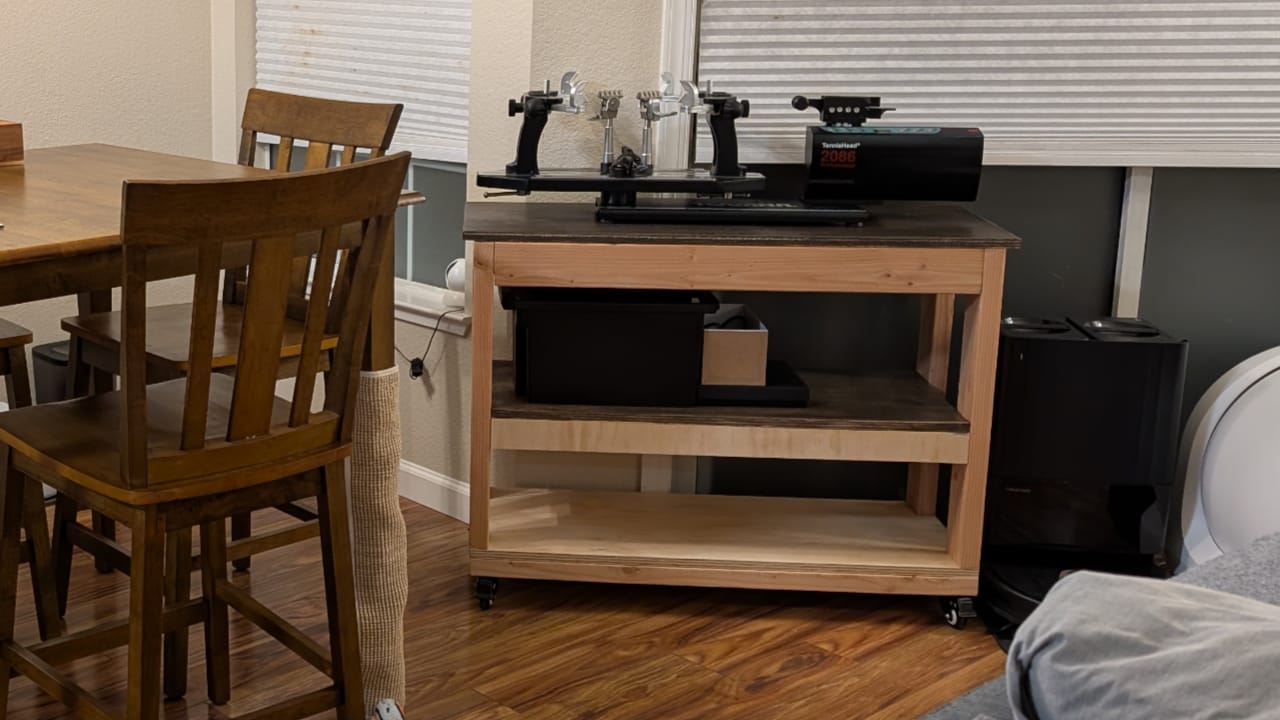
Earlier this year, my partner bought a tennis racket stringing machine. As you know, I'm all about DIY-ing, so I fully supported his desire to string his own rackets. But we had a problem... we didn't have a place for it to go. As a temporary solution, he put it one of the dumbbell dollies (I have not used the dumbbells very much this year...) and stored them in the nook next to the garage entrance. He would roll it to the other side of the house and move it to the dining table to use. Then, when he was done, move it back to the dolly and roll it back to the nook.
We looked around online for a rolling workbench that was approximately 15-in x 40-in, but we didn't find one that small. Not to mention, they were all very expensive.
So I offered to build him a workbench as a birthday present. It would be my first large woodworking project, but, like, how hard could it be?
It was, in fact, very hard.
But I did it!
Design
When I modeled the design for my closet, I used SketchUp. I found the functionality to be very basic and lacking precision, so I didn't want to use it again. I did some research and decided to use Onshape and was pretty happy with it.
My design is basically a modified version of the Small Mobile Workbench by Woodshop Diaries. I did not actually buy the plans since I needed to modify the dimensions. I also added an extra support on the top, since the stringing machine would be living on this workbench permanently.
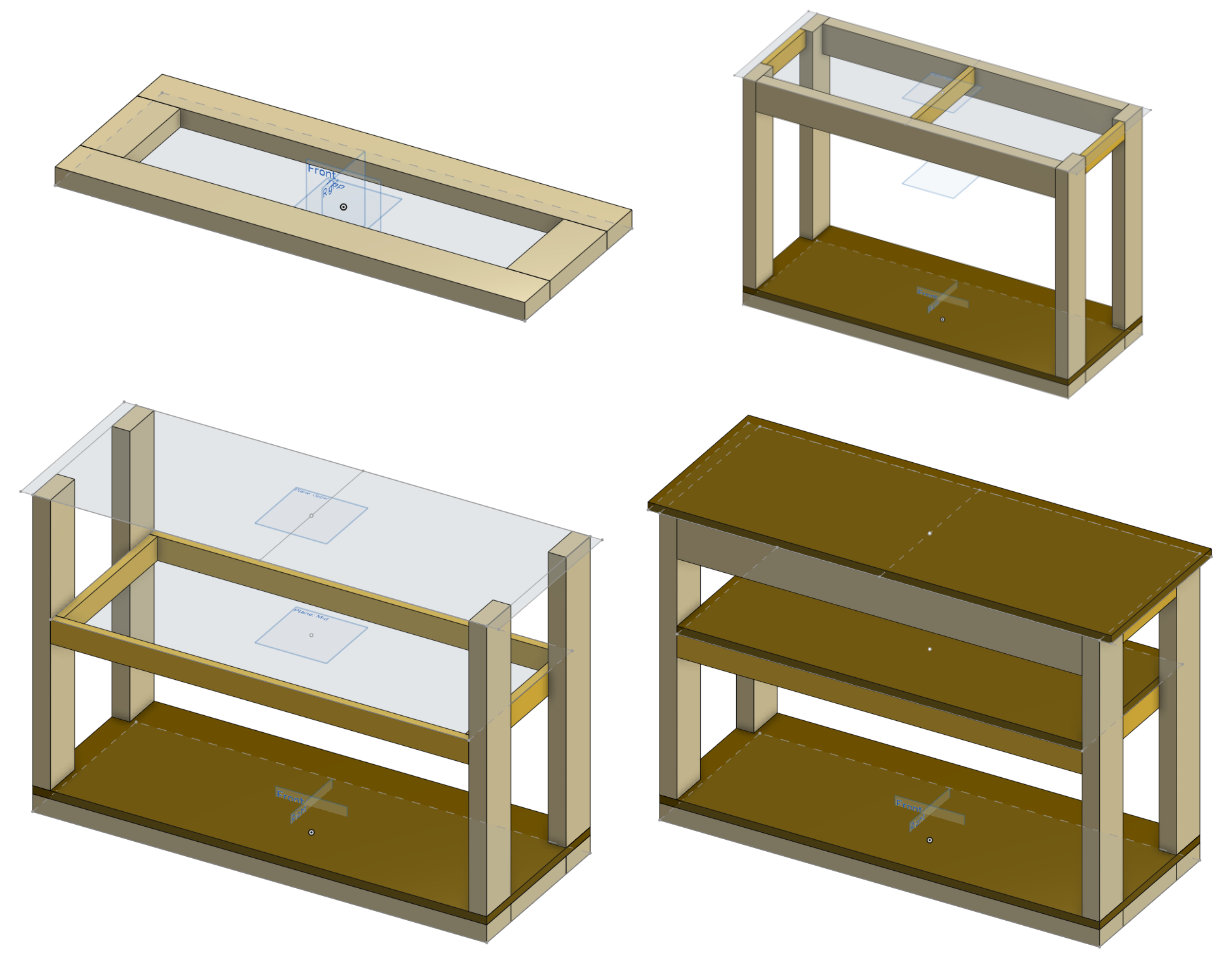
Having the design modeled to the exact dimensions allowed me to generate cut lists using the built-in tools in combination with optiCutter. Then, in theory, it would be easy to walk into Home Depot, buy what I need, and be on my way.
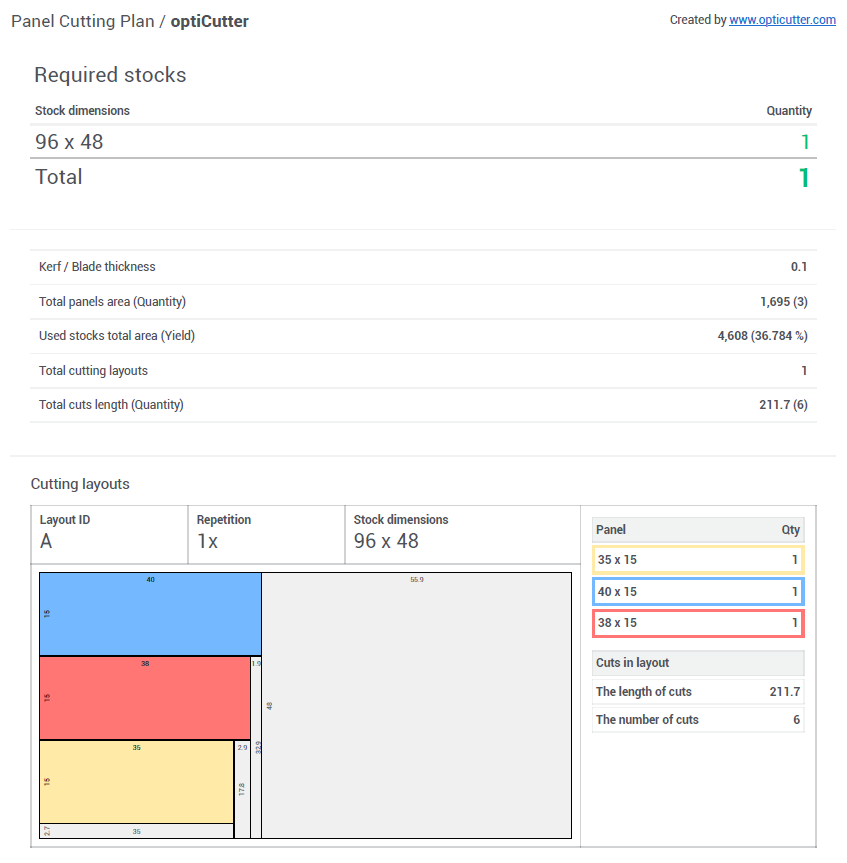
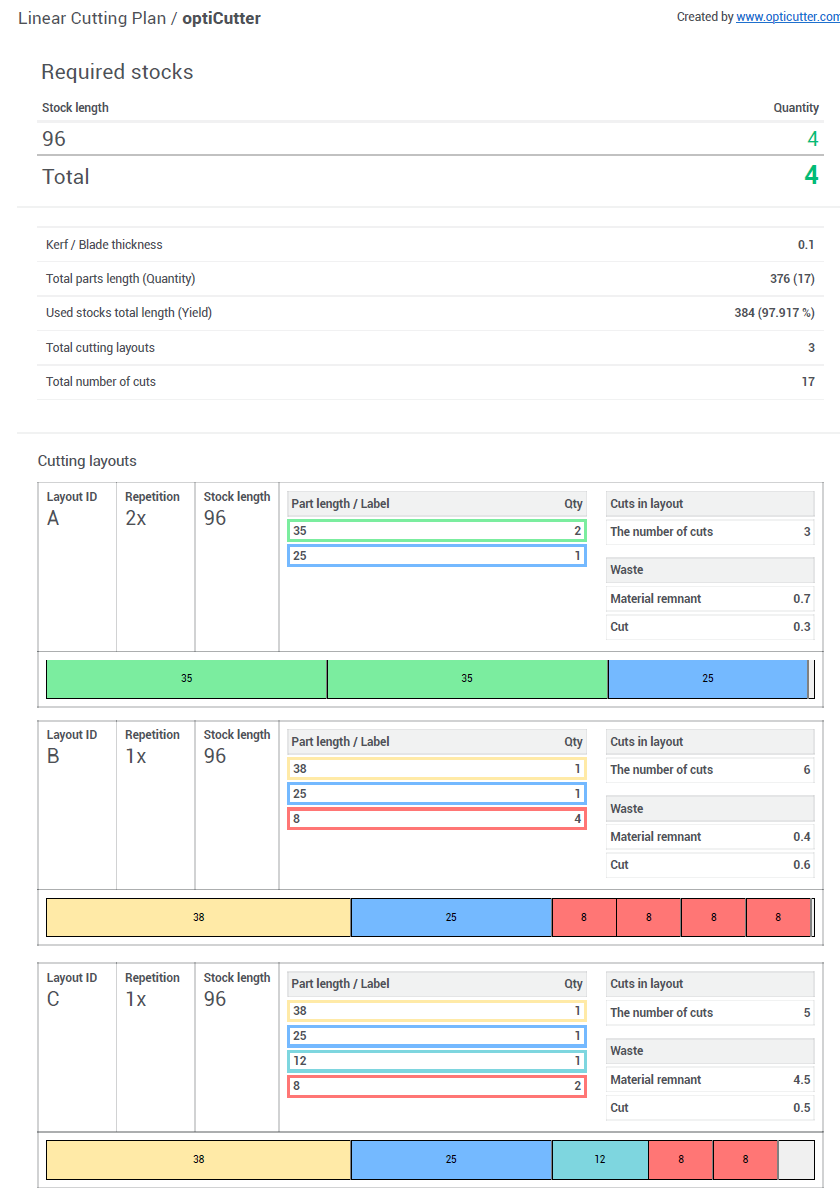
Plywood and 2x4 cut lists generated by optiCutter
Materials
I went to Home Depot by myself to purchase the materials. I did a quick walk down the aisles to confirm where things were before grabbing a large cart.
First stop was the plywood. I got a 4x8-ft sheet of 3/4-in cabinet plywood. I somehow thought I could lift it by myself. I mean... I probably could have figured something out, but when I slid it off the pile and it immediately went down, another patron saw me struggling and helped me get it on my cart.
Next stop was the 2x4s. I looked at my cut list and saw three layouts (A, B, and C) and was like ah yes I only need three pieces. (The cut list actually says four pieces, and layout A is repeated twice.) I dug through the piles to find the least scraggly looking pieces I could find.
Then I brought the plywood to the cutting center to rip it down so it could fit in my car. I thought splitting it into two 4x4s would be sufficient.
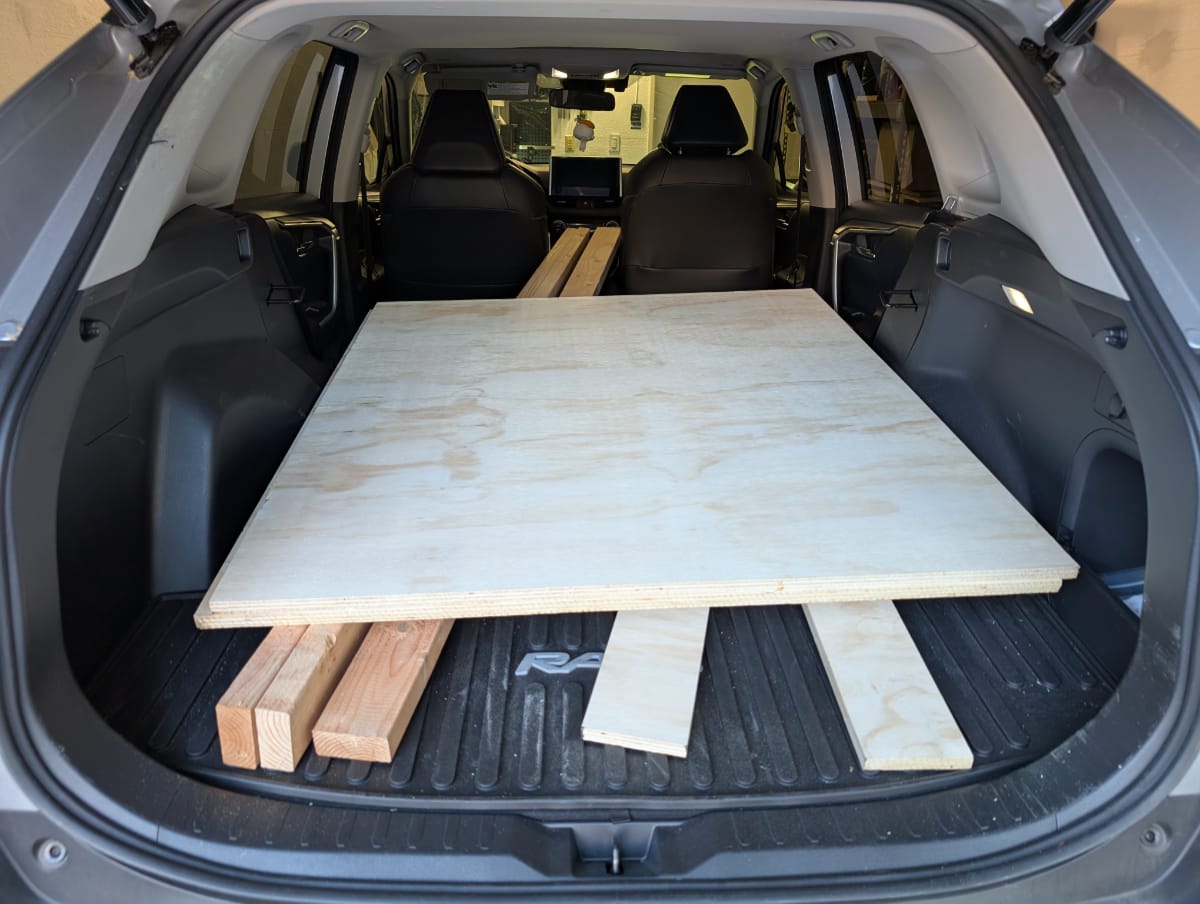
Then I paid for everything, and loaded up my car. Well, I attempted to load up my car. The 2x4s went in just fine, but the plywood sheets did not fit in the back. They were too wide by a few inches. Some guy who had just arrived and parked next to me saw me struggling and helped me try to fit them in, and we tried like every direction from the trunk, and even from the back doors, but we had to give up.
I brought them back in to get 5 inches trimmed from each board. The guy was very nice about it. I asked if I had to pay extra because I was going over the "2 free cuts" and he was like, "No!!! I am doing this as a favor for you! If anyone tries to make you pay, just do this...," and he picked up one of the trimmed pieces and swung it like a bat LOL. He assured me that I could come back and he would help me again if they still didn't fit in my car.
Anyway, everything finally fit, and I'm glad I encountered very helpful people at Home Depot.
Cuts
I took two days off work for my and my partner's birthdays (which are one day apart). I spent my birthday cutting wood. (It was very wishful thinking that I would have anything substantial built by my partner's birthday the next day.)
Upon making measurements, I learned that 8-ft long 2x4s are not actually 8-ft long; they are actually 92-in long. I also realized at this point that my cut list called for four pieces, but I only bought three.
Instead of going back to the store, I re-did my design to replace some of the 2x4s with plywood strips.
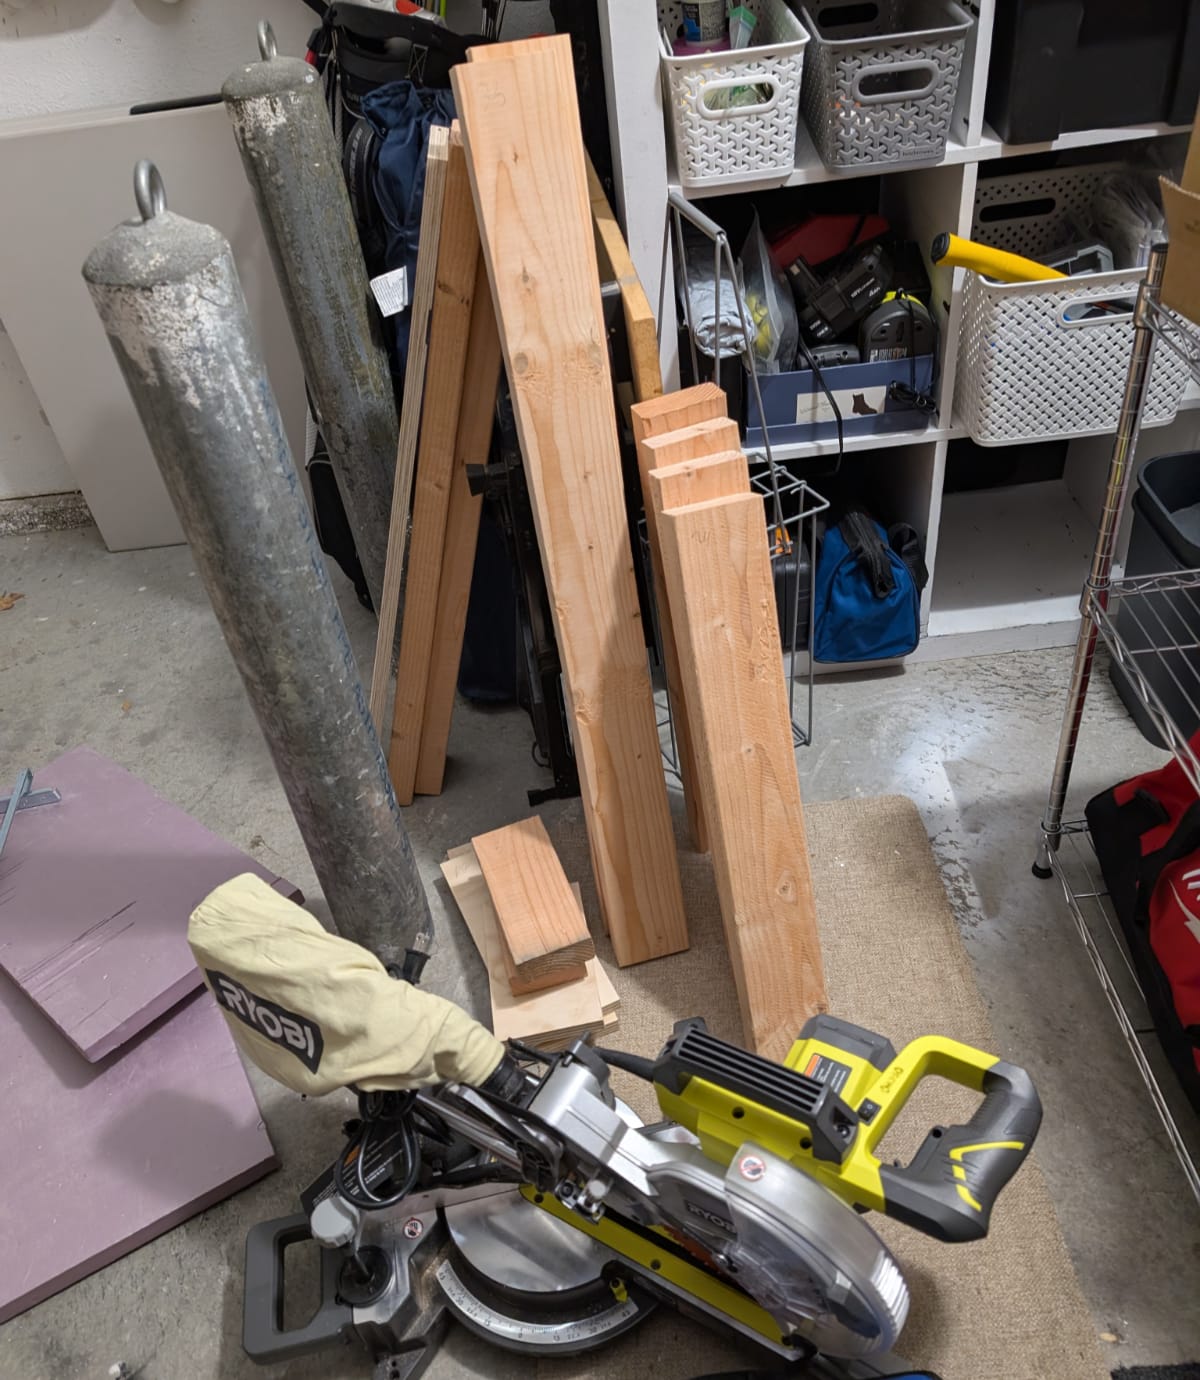
Then, I used my miter saw for the first time. And it's amazing! So much easier to make small cuts than with a circular saw. I was able to cut down the 2x4s with ease. My measuring precision needs some work though.
I did use my circular saw for the plywood.
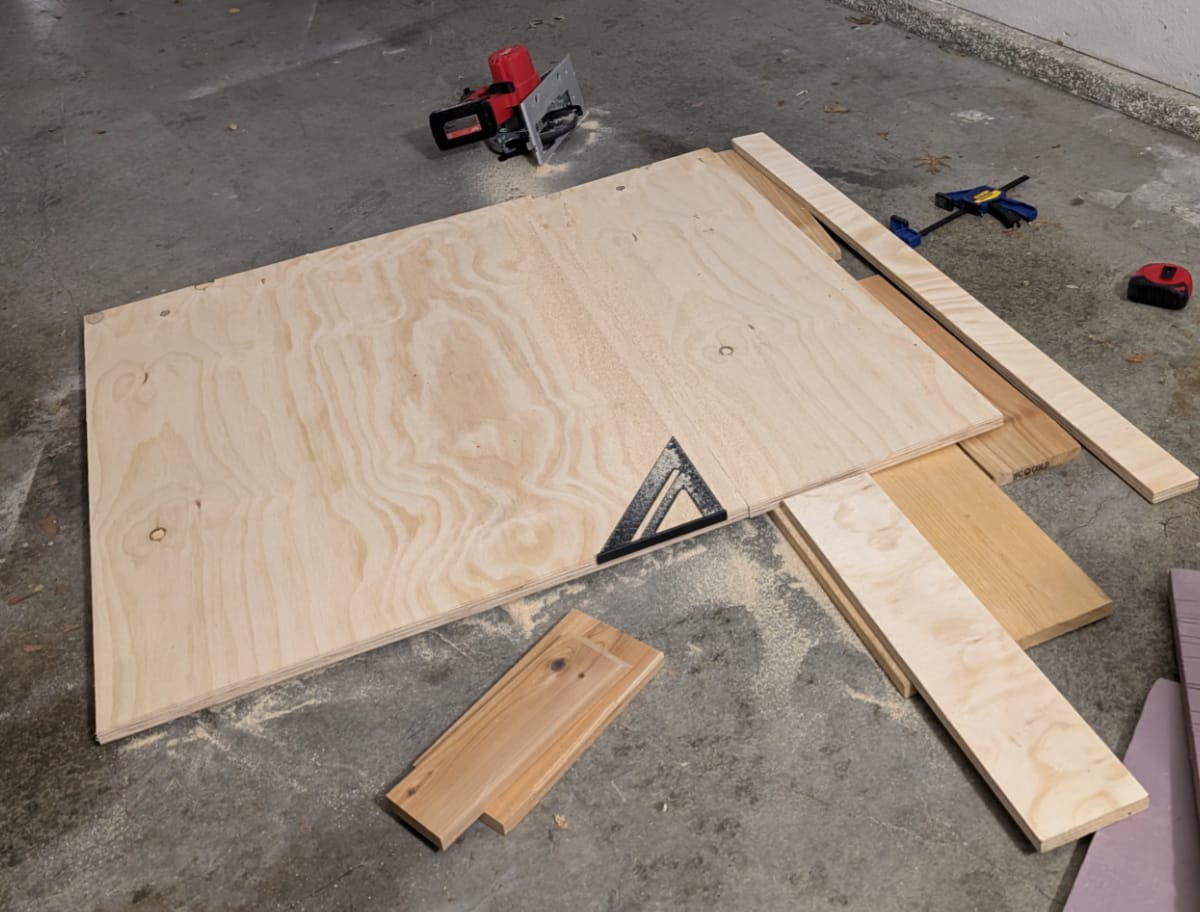
I found that all of my cuts were slightly not straight and not square. So a couple of weeks later, I made a DIY saw track that would allow me to clean those up.
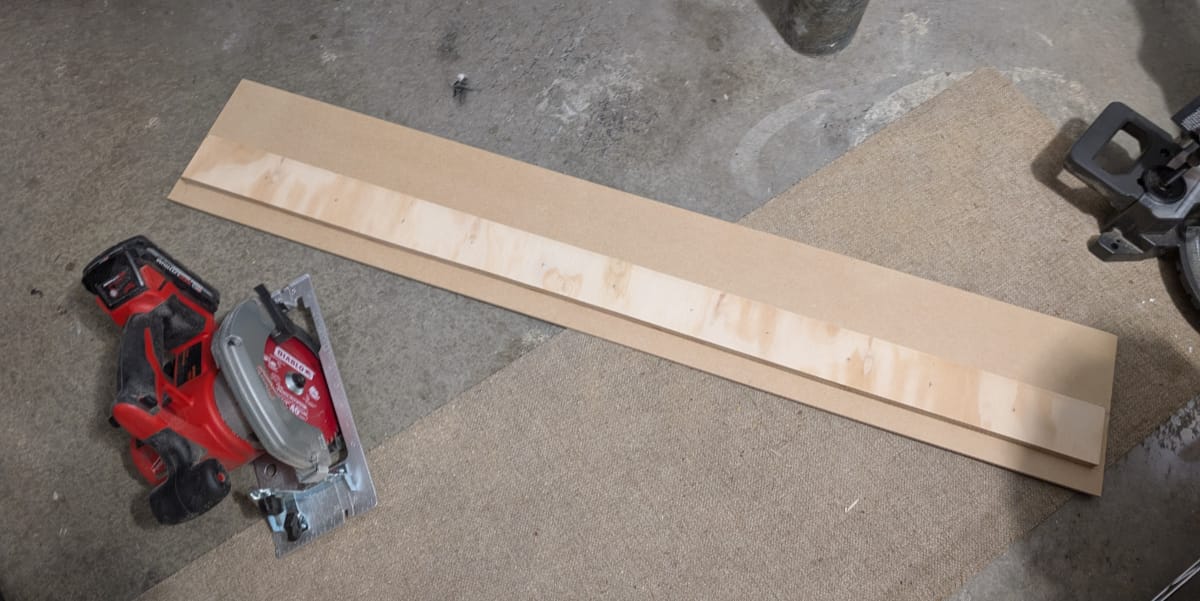
Assembly
By the time I was actually ready to start assembly, it was July. I printed out the assembly order so I could mark it and not have to use my phone which would get all dusty.
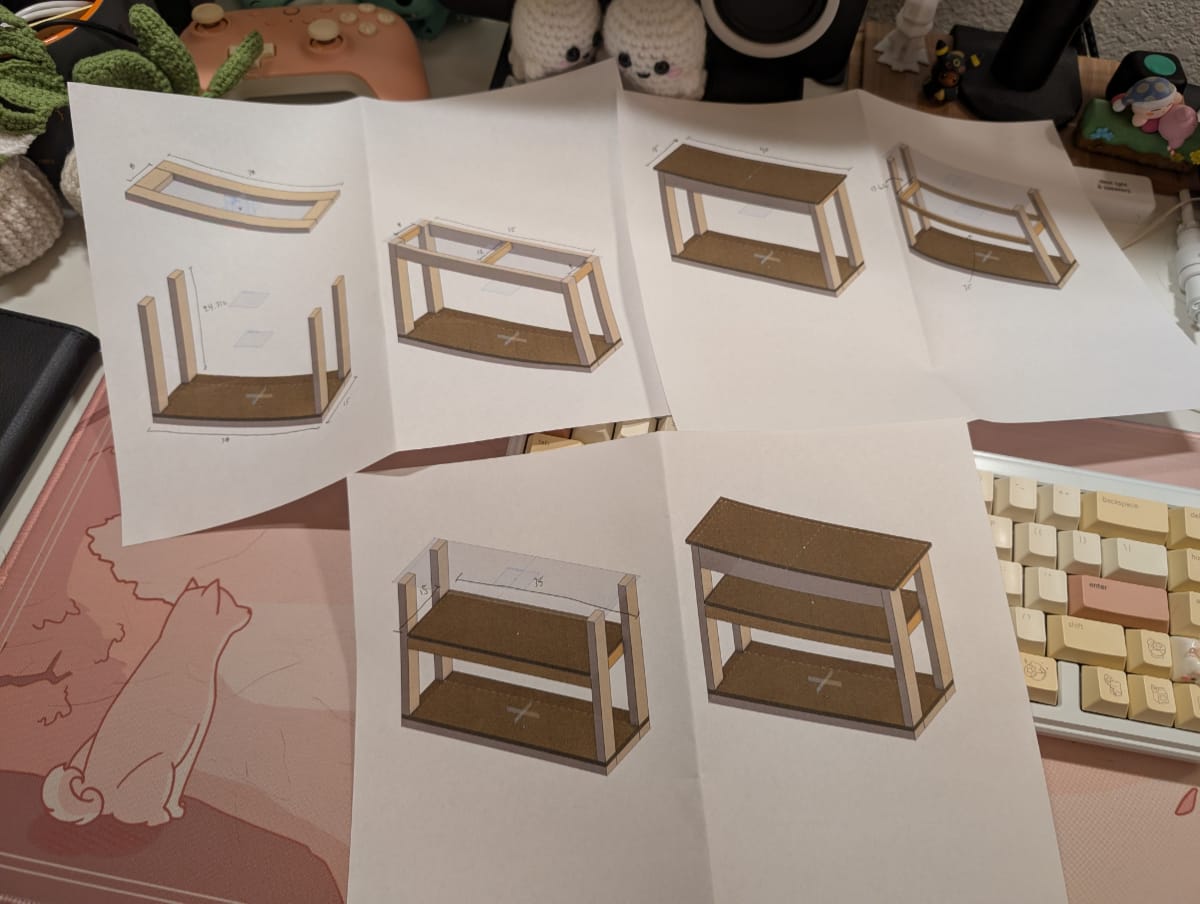
I spent a good amount of time trimming all of the pieces I had cut because everything was slightly off. After that, I could finally start assembly. It's been a very hot summer, so it was hard to find good days to work. Sometimes I just worked in the heat anyway (to my partner's displeasure and concern).
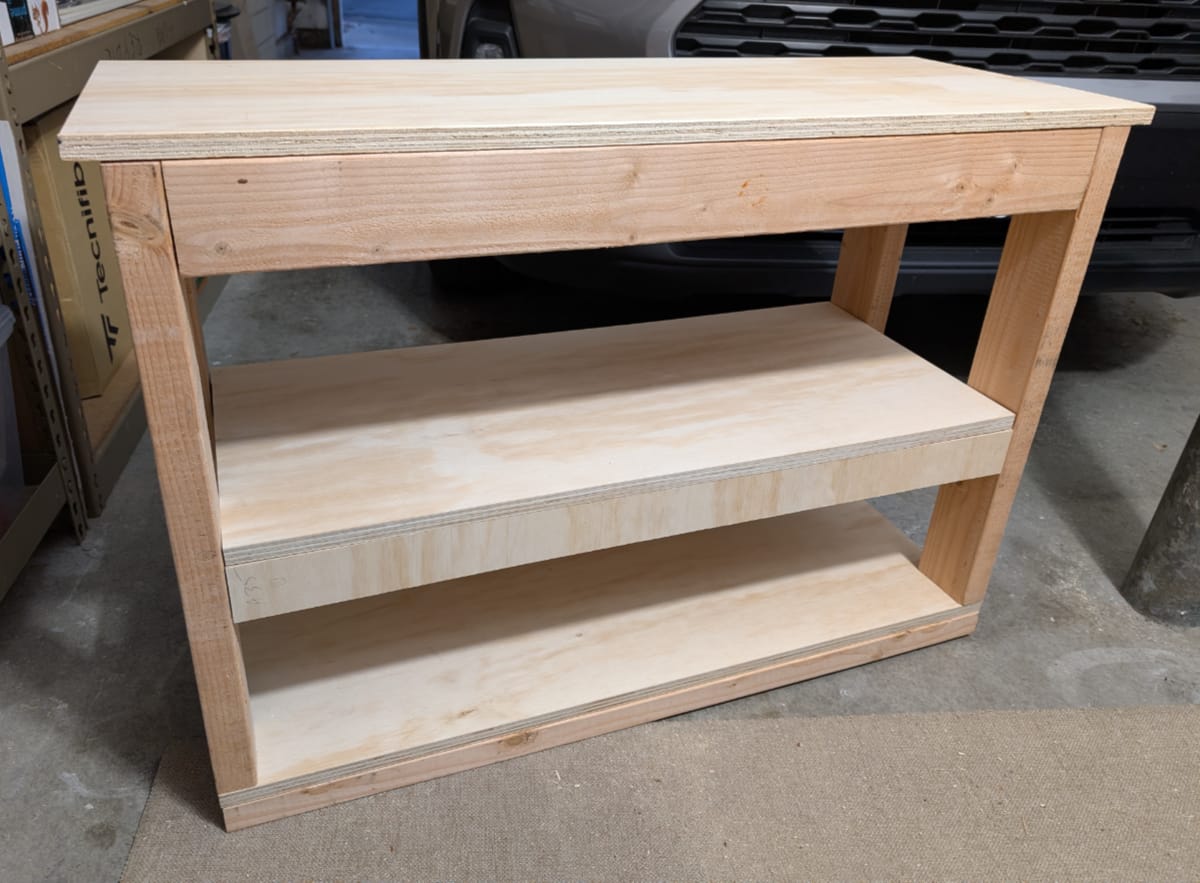
I started with the base and legs. I put the base frame together with some pocket holes, and attached the panel with screws from underneath. Then I attached the legs with long screws through both the frame and panel. This was extremely difficult because even with pilot holes, drilling the screws would push the pieces apart, leaving a noticeable gap.
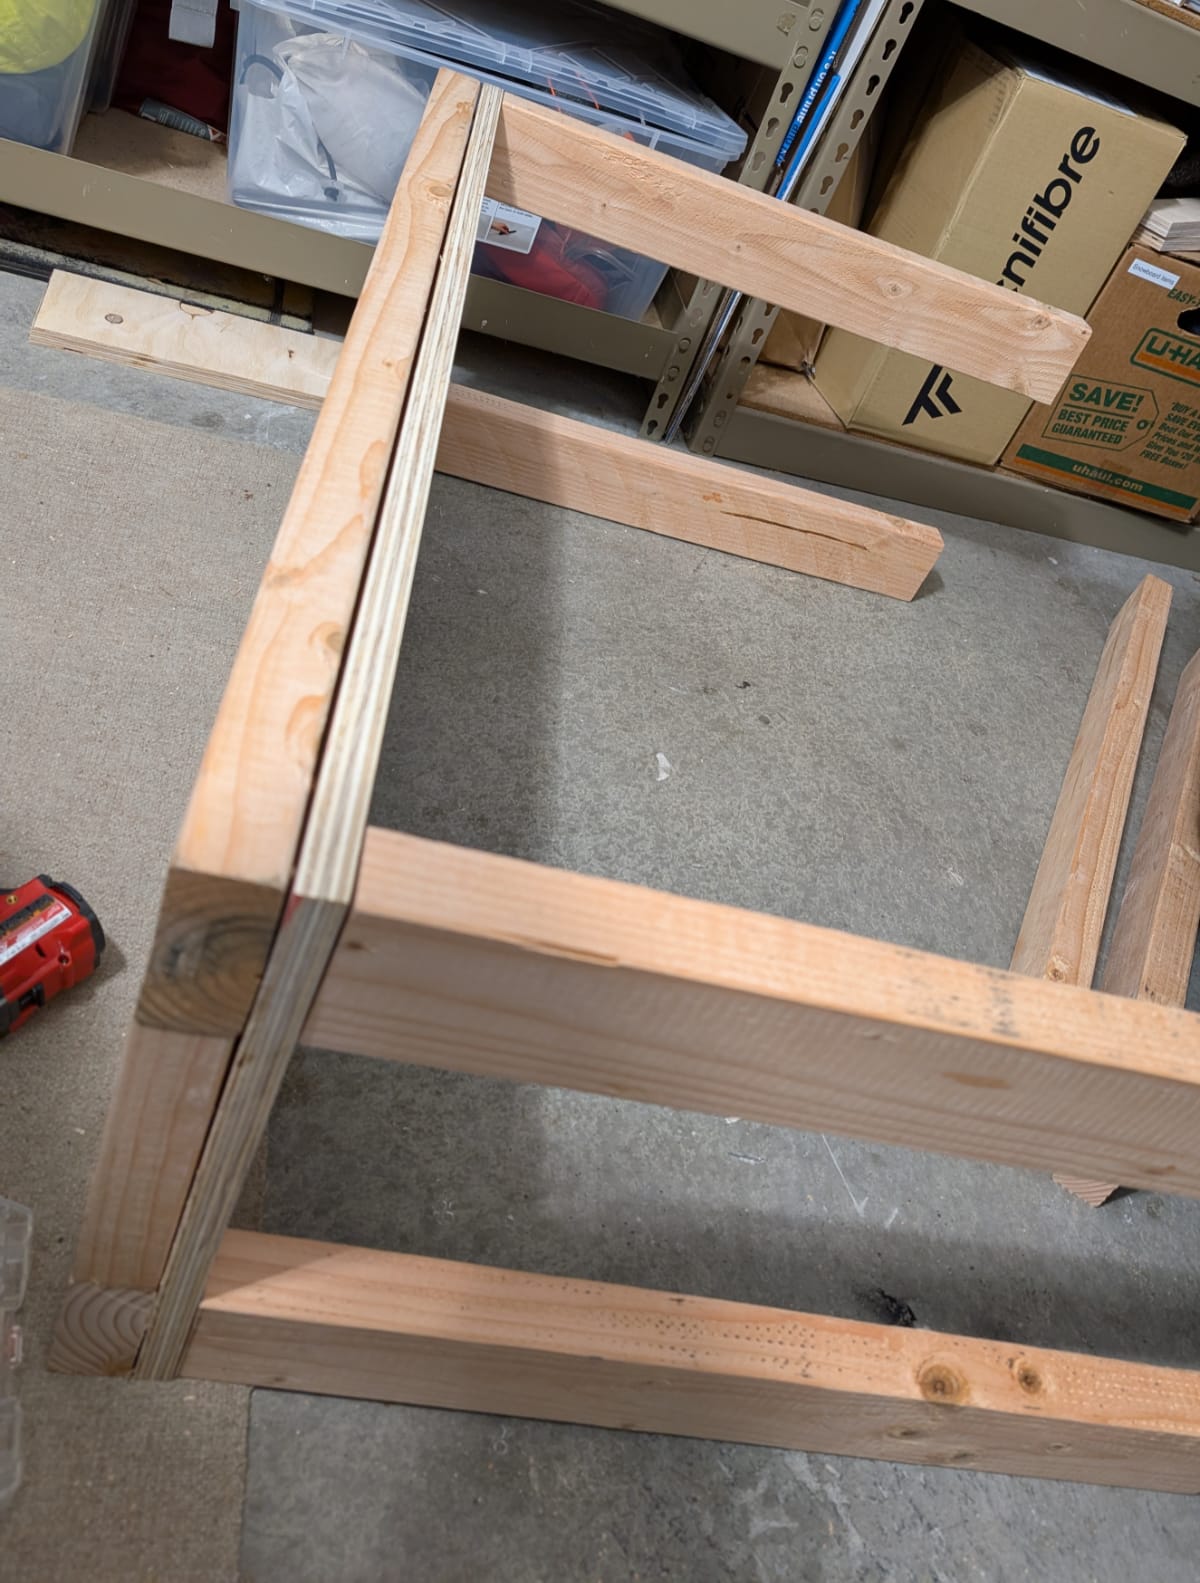
After doing some research, I redid the legs using way more clamps. Luckily I had corner clamps already (and didn't think to use them earlier), although it took a lot of finagling to clamp everything without having the clamps collide and still have room to drill.
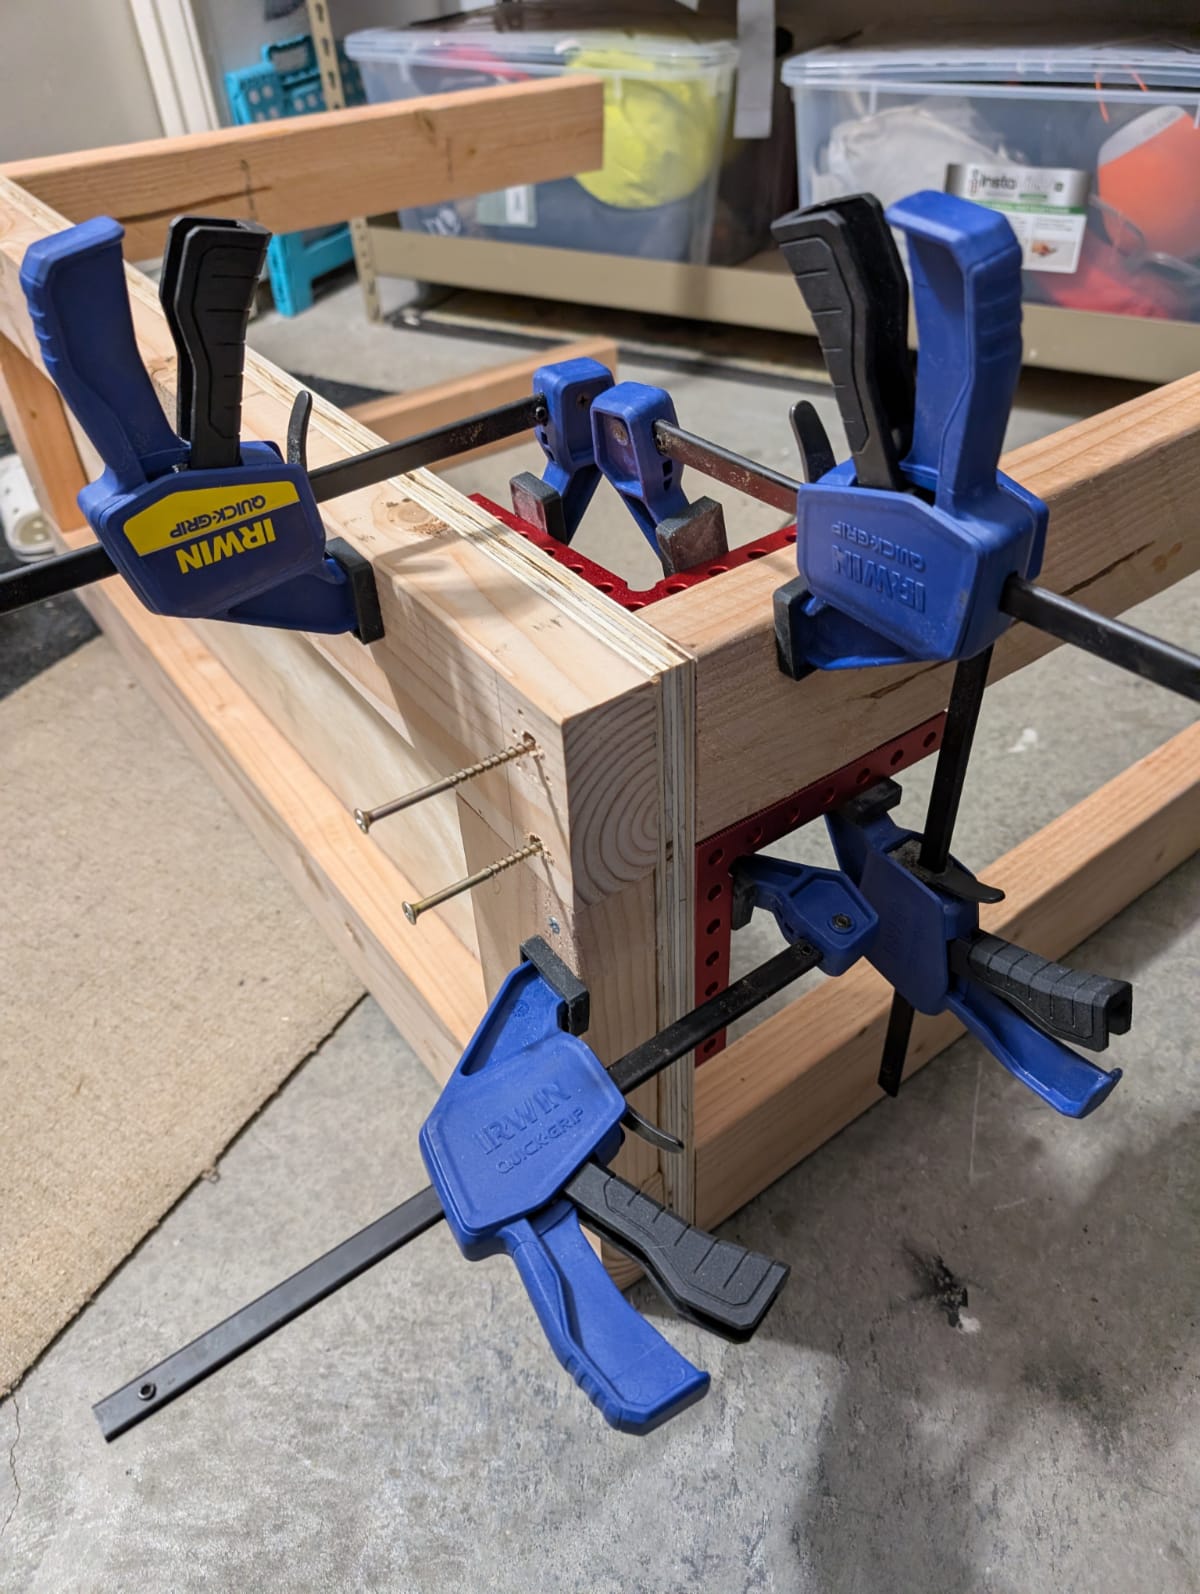
Then I was able to move on to the top.
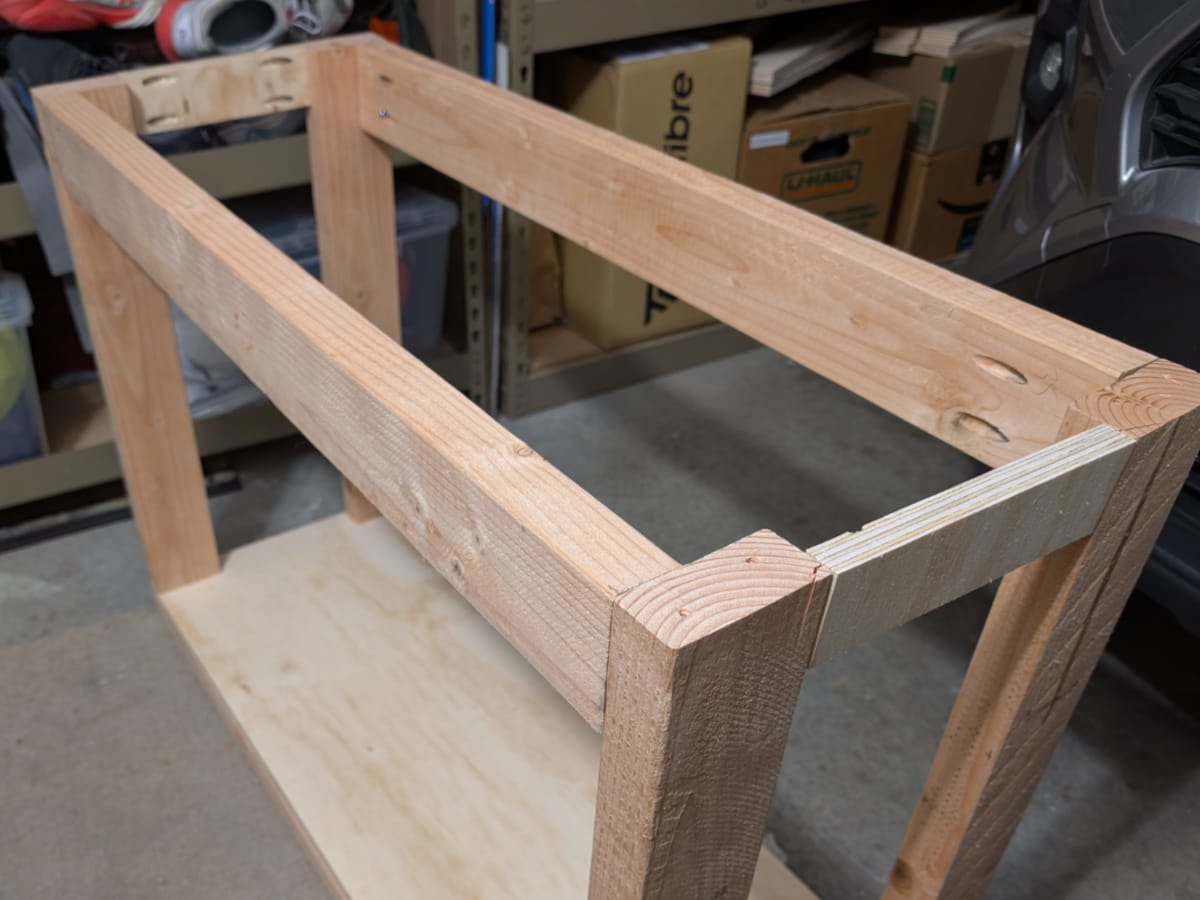
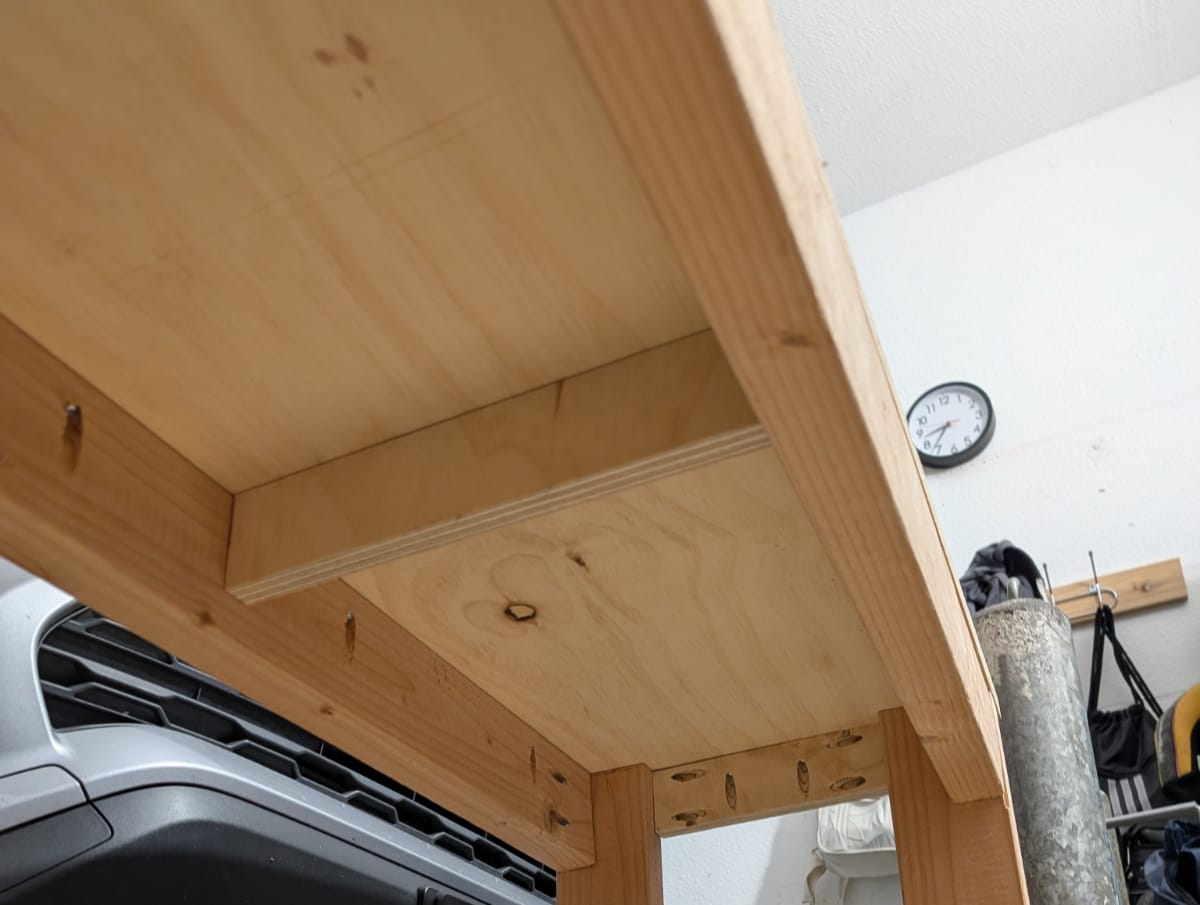
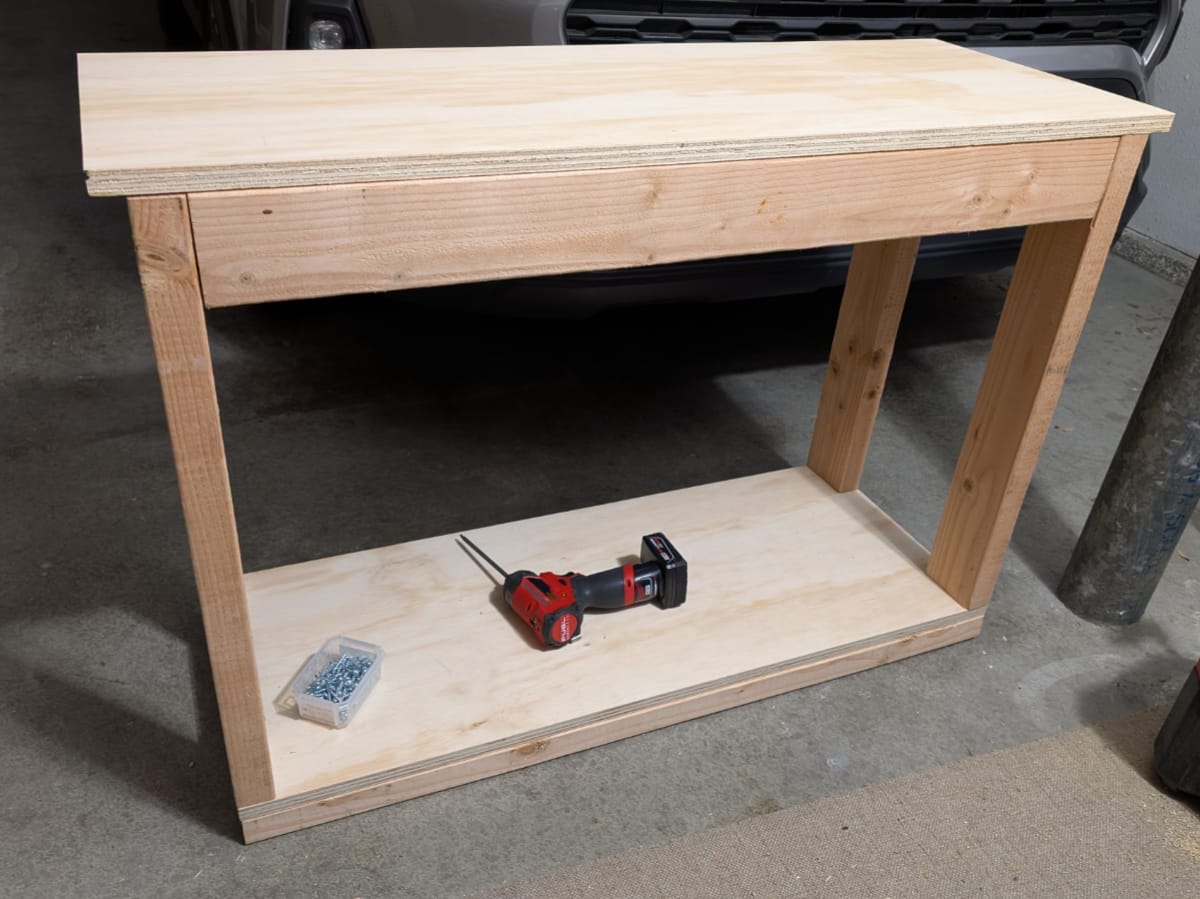
Then the middle shelf. I did have to trim the panel some more for it to fit. And lucky me, the workbench was functional at this point, so I had a nice surface to clamp the panel to and make cuts on.
Finishing
The last step was sanding, staining, and sealing. It is now August, and this half-finished workbench has been taking up a decent amount of space in the garage for a while. Both my partner and I were eagerly waiting for me to finish, not only so he could use the workbench, but also so we could walk freely through the garage again.
I don't have any pictures of the sanding because there was not much to see. It was just a long process of suffering. The 2x4s were pretty rough, so I had to apply a decent amount of pressure. (A random orbital sander was probably not the right tool for the job, but it was the tool I had.)
I felt like I had sanded enough and moved onto staining the top and middle shelf. I had read online that staining pine can be tricky and that you should condition the wood first. So that is what I did. And I think it turned out ok? I mean, it's a workbench, so it didn't need to be beautiful.
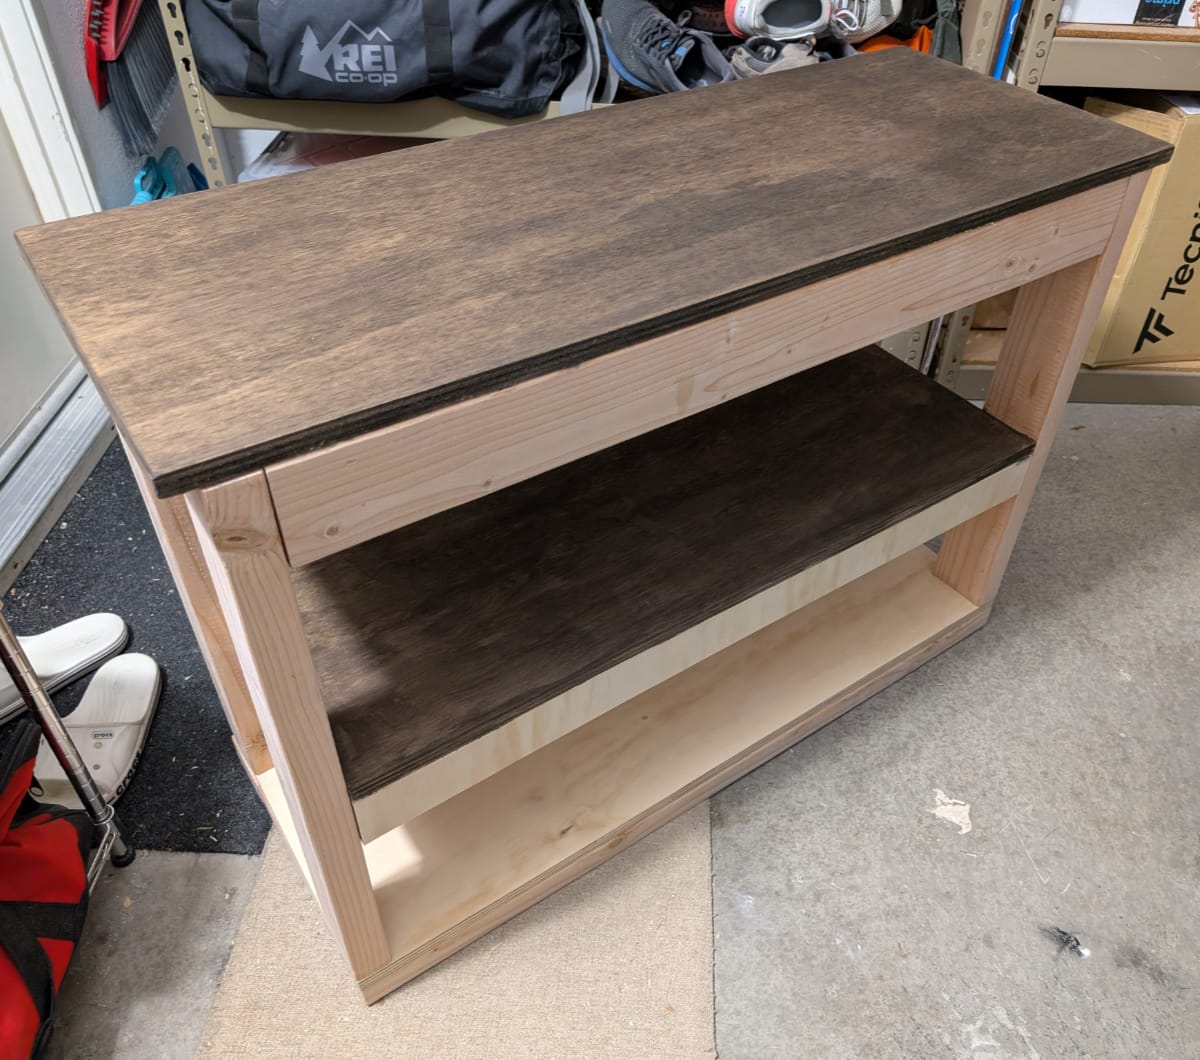
I let this sit like this for a bit because I went on a side quest to make a DIY air filter. I work with a respirator on, as a good woodworker should, but the dust was still everywhere. I had done some research on the Corsi-Rosenthal box, but I was pretty sure it would not fit in the garage. So I waffled around a bit on what I should do. Do I build a mini one? Or settle with a single-filter taped to a box fan?
I ended up buying a 20-in box fan and four 20x20x1 MERV 13 filters to at least see if the box would work. I tested it. It was massive. So I went with a single-filter taped to a box fan.
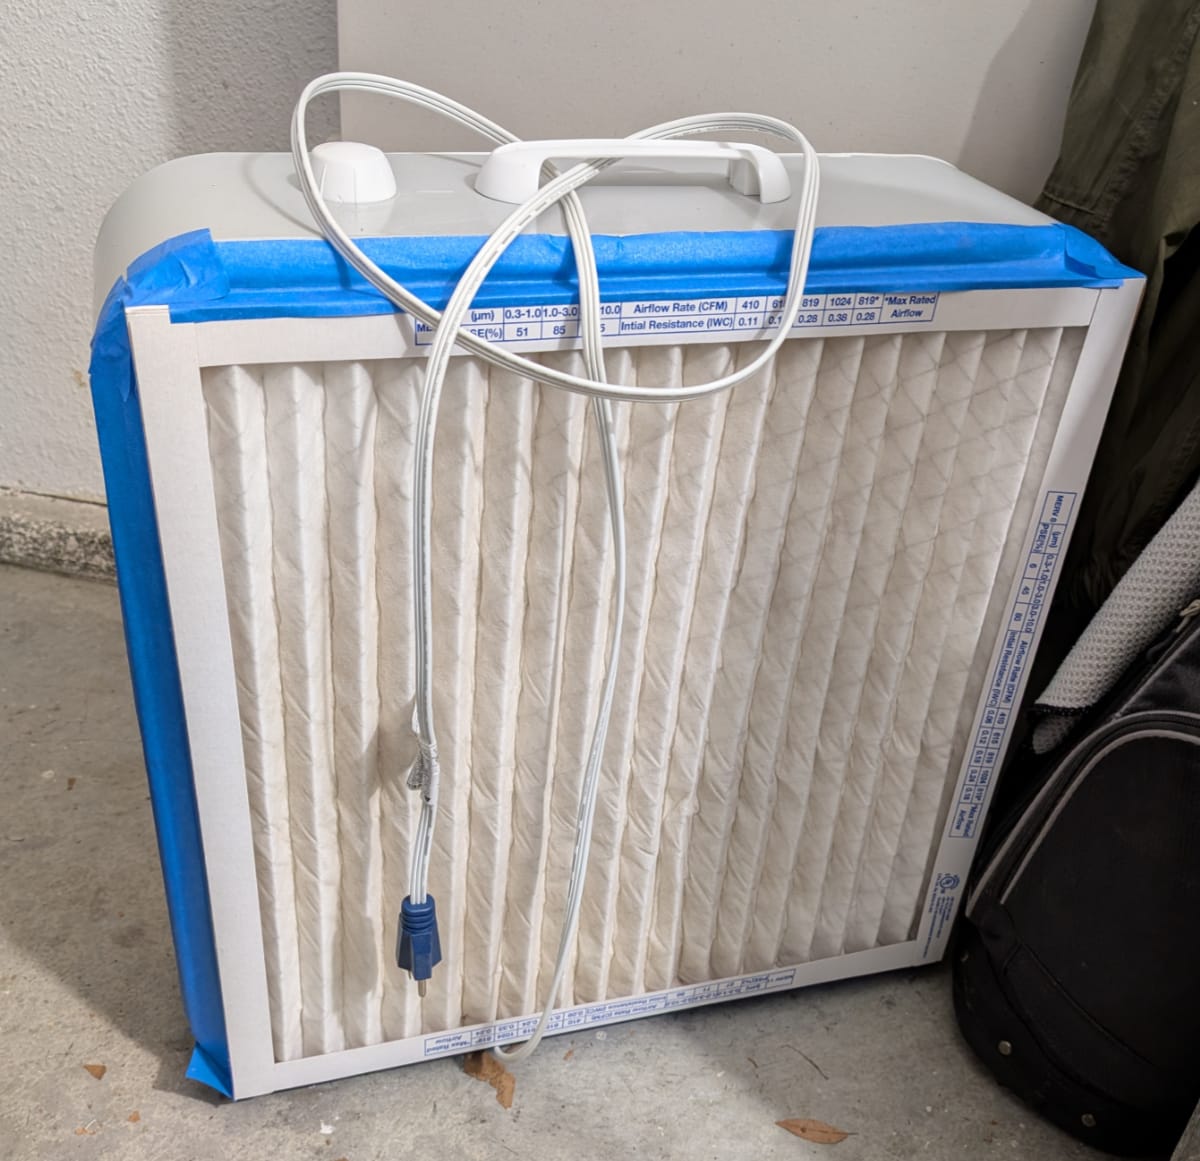
This was significantly better than having nothing. Remember kids, don't let the pursuit of perfection be the thief of progress! Your sinuses and lungs will thank you later.
With a functional air filter system in place, I continued.
First, the conditioning and staining really raised the wood grains, so I had to sand them down. But lightly by hand, not with the random orbital sander which leaves circular marks everywhere. (I know this because I tried and instantly regretted my life.)
Then I also noticed places that were still rough and needed more sanding.
And noticed more places.
And more.
But finally I was satisfied and moved onto sealing with polyurethane and attaching the wheels.
Then finally I was done!
Result
If you look closely, you can see that the stain got on parts it shouldn't be on (it would have been easier if I finished everything before assembly, but I knew the pieces weren't going to fit together without some on-the-fly adjustments). The texture on the top is grainy; it's not rough but you can feel grooves in it. And the middle and bottom shelf are even rougher because they wouldn't be touched much.
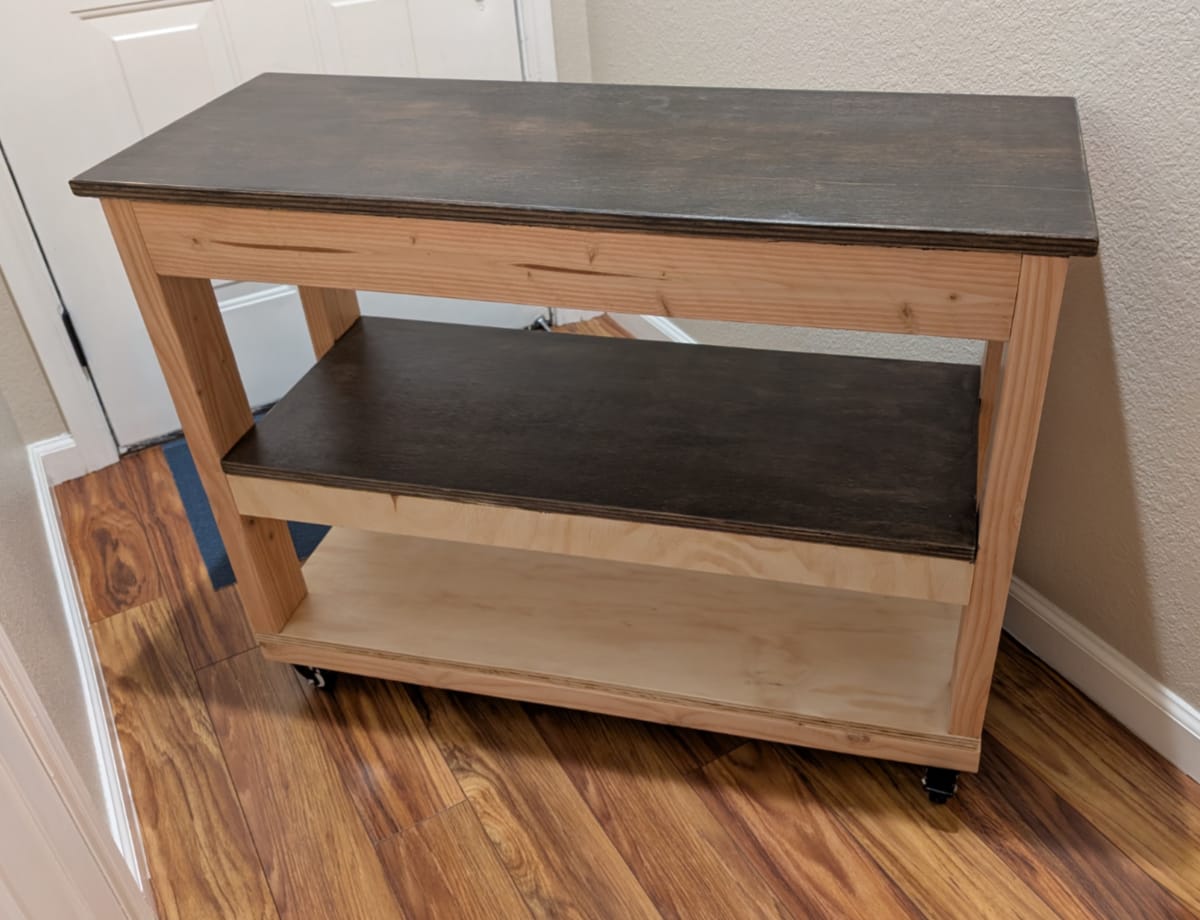
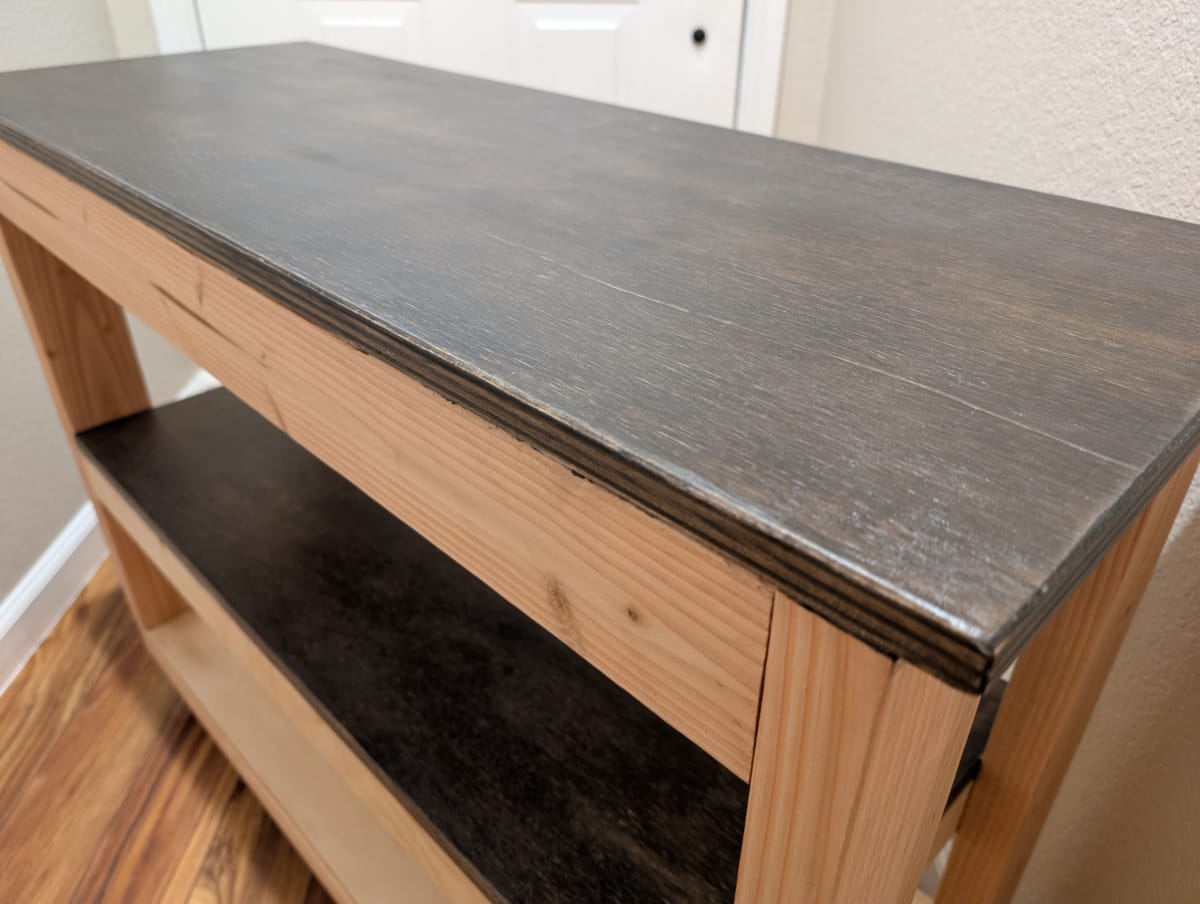
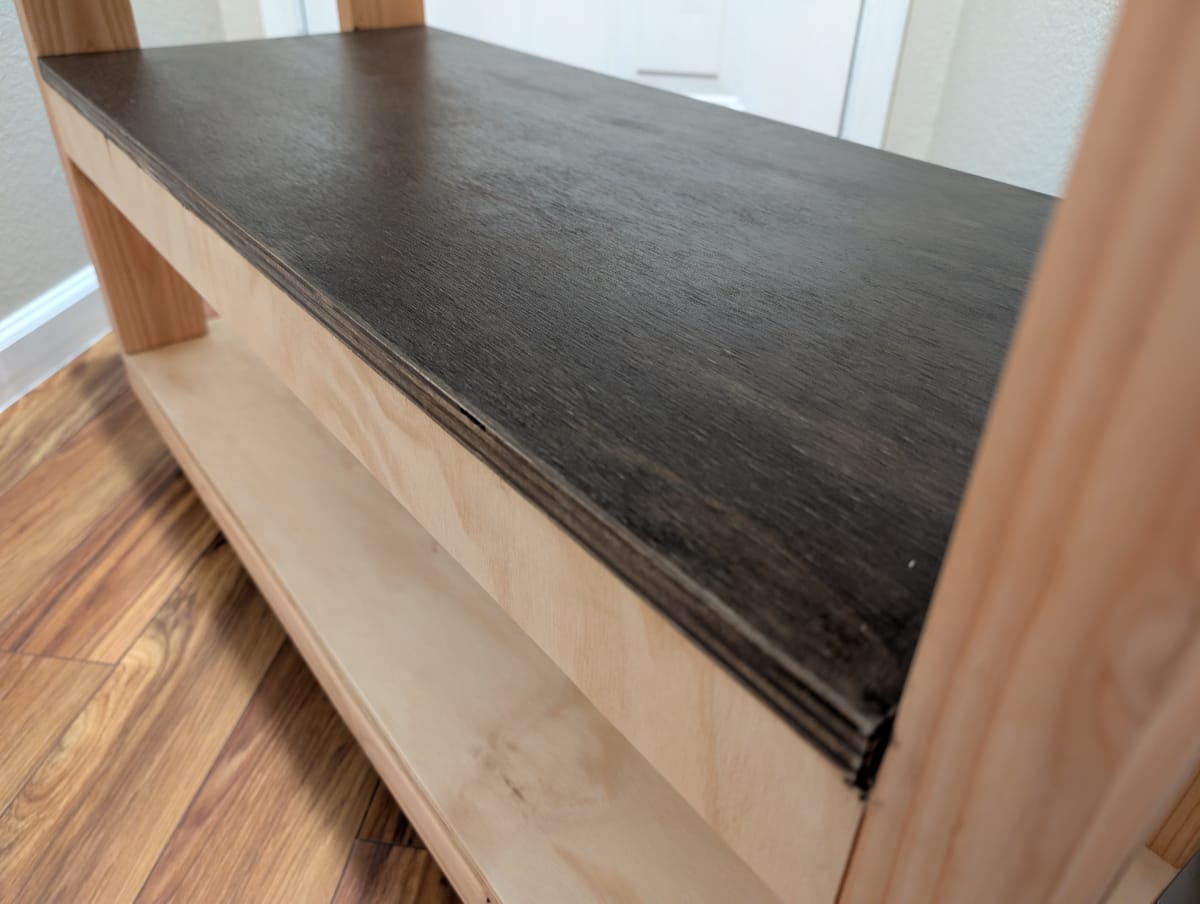
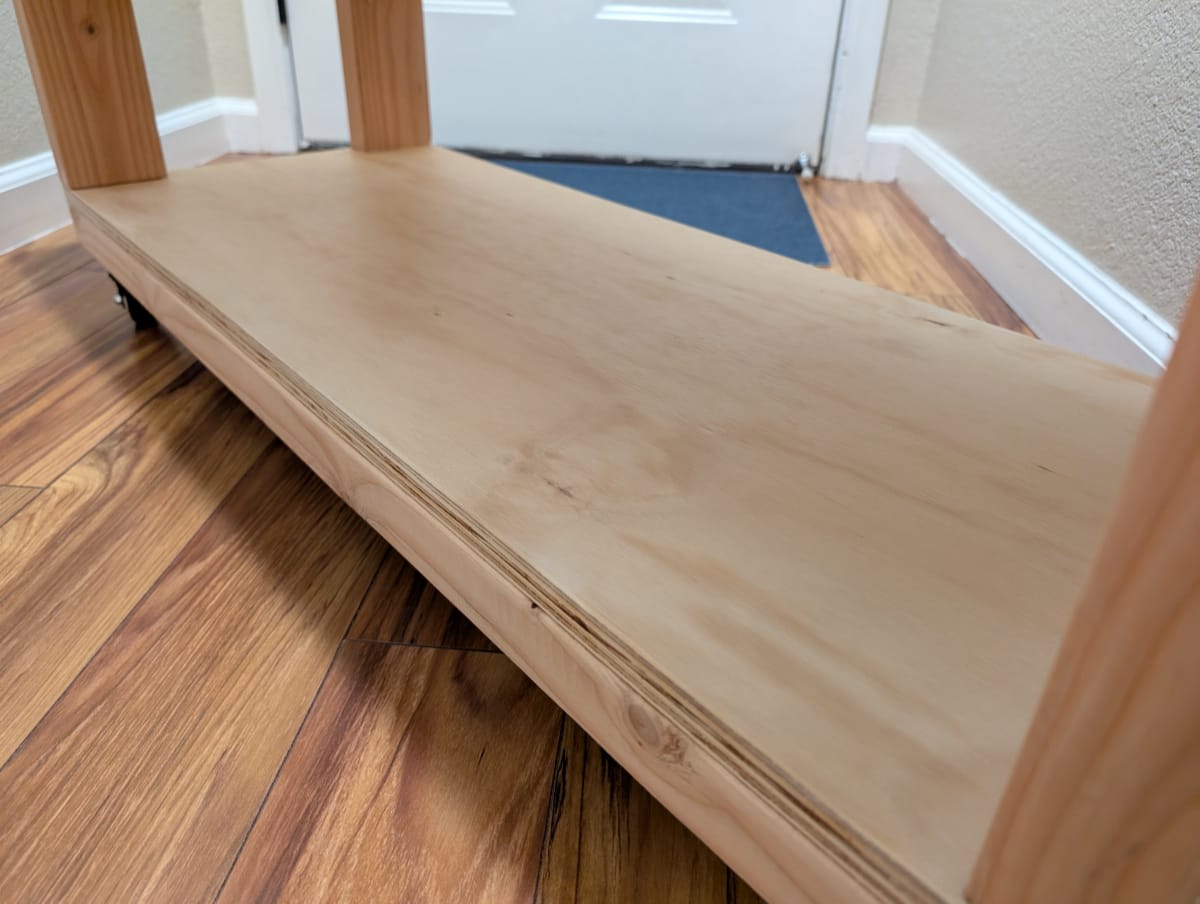
But overall, it looks nice enough to be inside the house, and my partner is very happy with it. Here it is in action! As usual, Poshie is a nosy girl.