Matching Pajama Shorts (Part 2)
For Christmas, I made my partner and myself matching pajama shorts. I learned how to adjust patterns, improved my sewing technique, and learned how to use a serger. And I did finish in time — on Christmas Eve with a few hours to spare!
If you haven't read Part 1 yet, I recommend reading that first. Or not. I won't tell you how to live your life.
Step 5a: Making the final version
For the final version, I started slaving away on the Monday before Christmas. In the morning, I had done a leg workout. (I'm currently doing like one workout a week because it is so cold and I just can't get myself to do anything physical when it is cold.) Then in the evening, I was squatting on the ground to make pattern adjustments and cutting fabric.
So when I woke up on Tuesday, my legs were so sore. Nevertheless, she persisted. I assembled the pockets and pant legs. No real issues, just time consuming. I did baste the pockets to the top and side of the pant leg too early, before I had overlocked the curved edge of the pockets, but that was easy to undo.
Then Wednesday came. Christmas Eve. The last day to finish. All I had left was the waistband and hem. The waistband I knew would take a long time because it took a long time in the second toile. I did a couple of things differently.
- After attaching the first side of the waistband, I trimmed the seam allowance. This reduced bulkiness when sewing down the other side of the waistband. Also reduces bulkiness for the person wearing it.
- I "stitched in the ditch" to attach the other side of the waistband. This ended up being much easier than edge stitching because I had less layers to hold in place, and with fewer layers, I could really feel the edge of the other side of the waistband that I needed the stitch to catch. The stitch on the outside also gets mostly hidden by the waistband after the elastic is in.
Then disaster struck. I ran into a minor issue with the hem.
Step 5b: Fixing a problem that I created for myself
When I reached the end of sewing the hem around the circumference of the first leg hole, the fabric on the outside of the leg hole was bunched up. It was just by a few millimeters, but that was enough to irk me because it was supposed to be flat and yet. it. was. not. I probably had this issue with both of my test runs too, but likely assumed I had just done something wrong with my cuts and seams. Maybe I didn't hold the fabric down well? I undid the last few inches of the hem and tried again. Same result.
This was the problem: because the leg is slightly tapered (i.e. the inseam and outseam are not parallel), after folding over the bottom edge, there's more fabric on the outside of the fold than the inside of the fold, so when we sew them together, the outside bunches up. It's like when your pants are too loose, you put on a belt, and your pants bunch up a little under the belt.
That analogy helps me explain the problem, but it doesn't help me explain the solution. So I will break it down into simple shapes.
Imagine folding over the top of triangle; there's no way for both edges of the triangle above the fold to touch both edges below the fold.
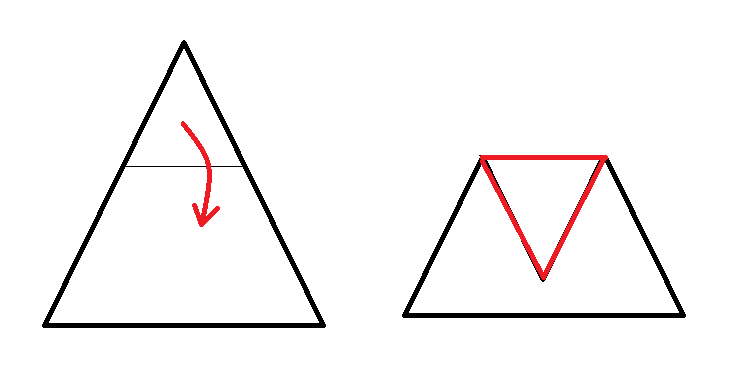
Now let's apply the same idea to a trapezoid, which is similar to the tapered leg when it's flat. In these examples, I've drawn a slanted line on the left side, which represents the seam.
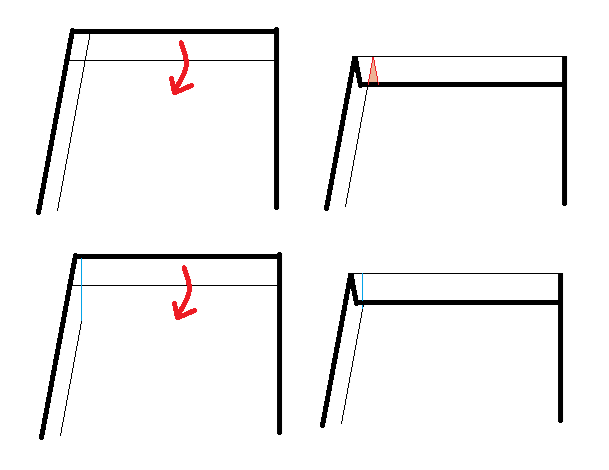
The top example illustrates the problem. After the top is folded over, the seam does not line up. The shaded triangle represents the amount that the outside fabric must bunch to line up with the inside fabric.
The bottom example illustrates a solution. We move the slanted seam line so it is parallel to the right side of the trapezoid, above and below the fold. Then, after the top is folded over, the seam lines up. There's no "gap" between the outside and inside fabric, so there should be no bunching.
Finally, here's the solution on the actual shorts.
I had left a 0.25-inch gap between the seam and the overlock stitch. I was able to undo the seam until where the hem stitch would go, approximately 1.5-inches from the bottom edge. Then I sewed a new seam that flared out toward the overlock stitch. It's not perfectly parallel with the outseam, but it's close enough that any bunching was not noticeable. (If there was still bunching, I could have undone some of the overlock stitch so the seam could flare out a little more.)
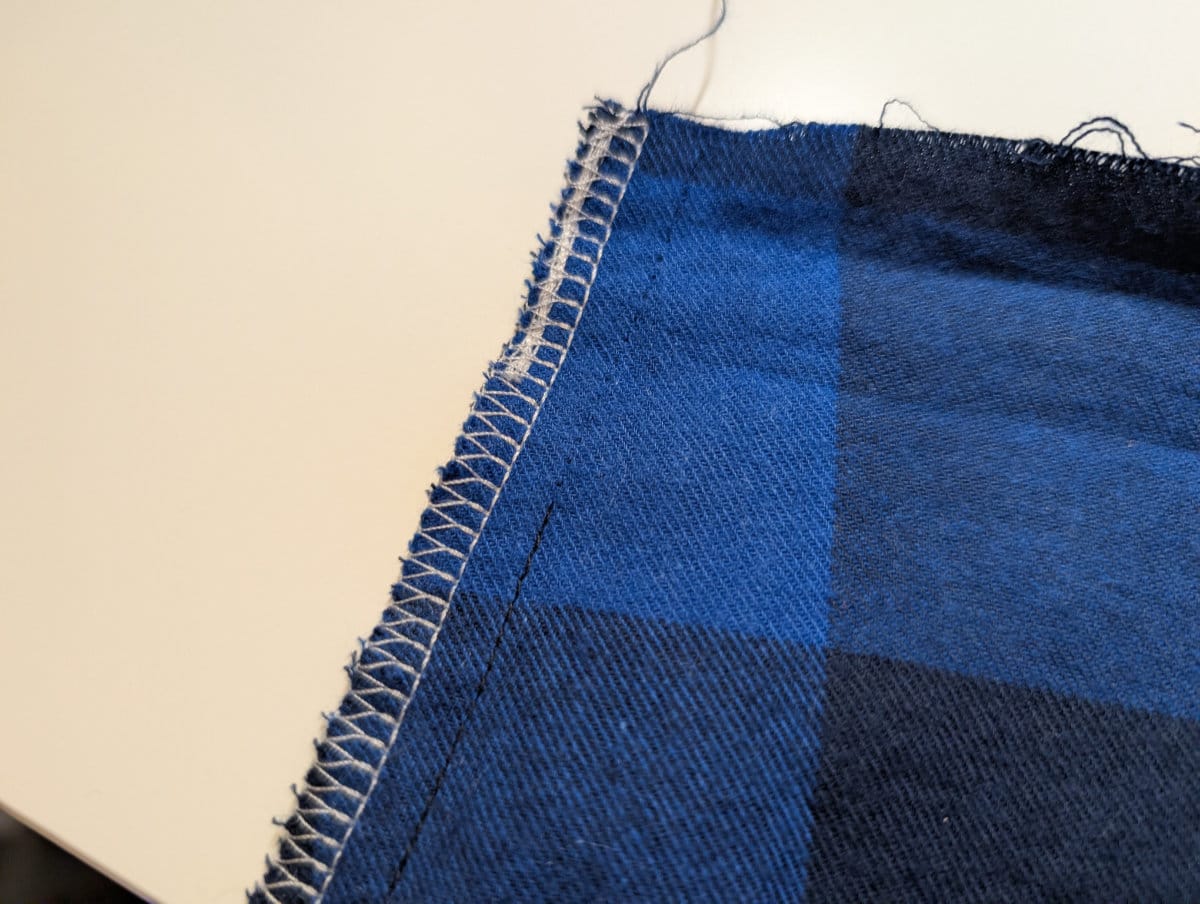
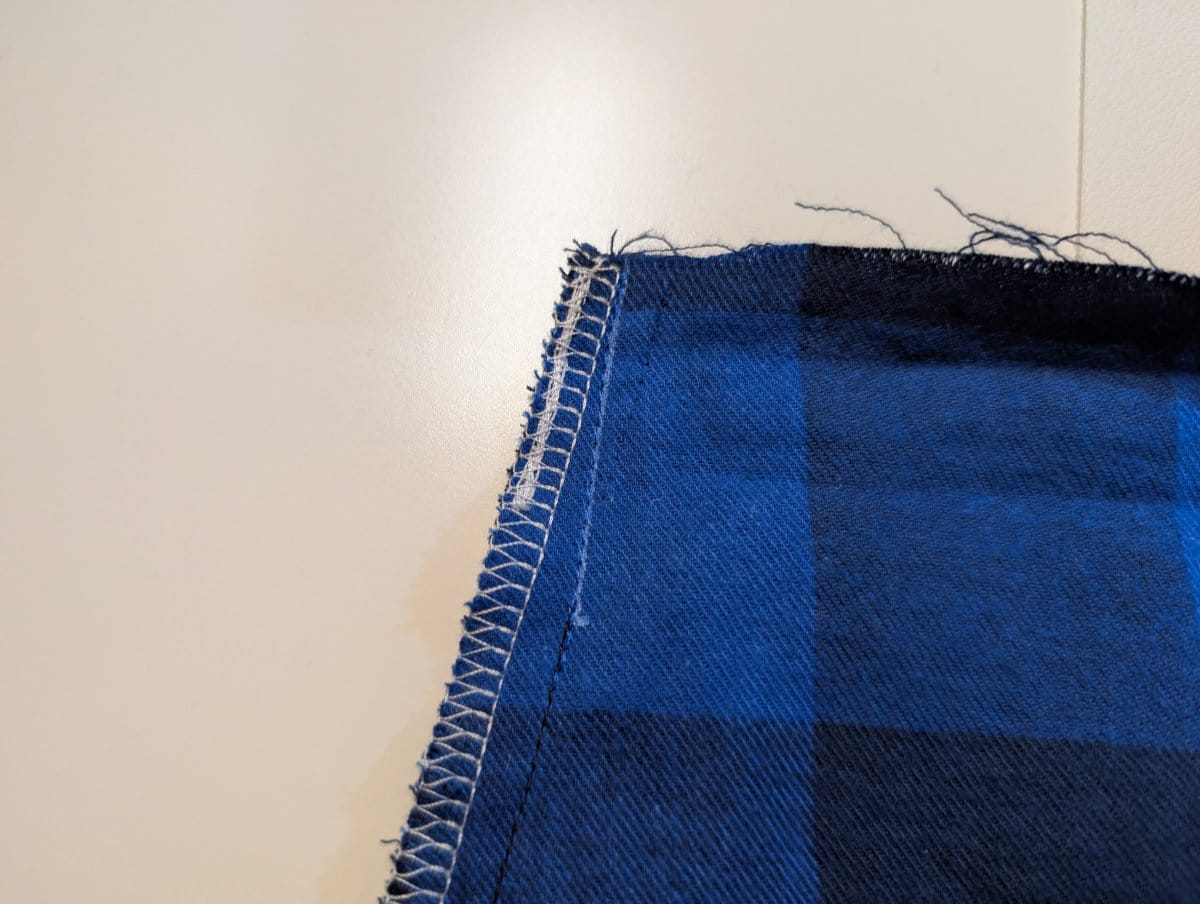
I drew a line with a white fabric pen where the new seam would go so I could sew a straight line, since I couldn't use the edge of the fabric as a straight guide.
I also realized that the pattern actually included a little flared out bit so you do not run into this issue, but I had cut it off thinking it was just for lining up the pieces. Uh. Oops.
For reference, I had googled my problem — something like "pants hem fabric bunching" — and found this Reddit post, which explained the issue and linked to a video of how to fix it. I did not follow the video's instructions, but it gave me the general idea what the solution was and I adapted it to my situation.
After the unexpectedly long process of hemming the shorts, I was done!
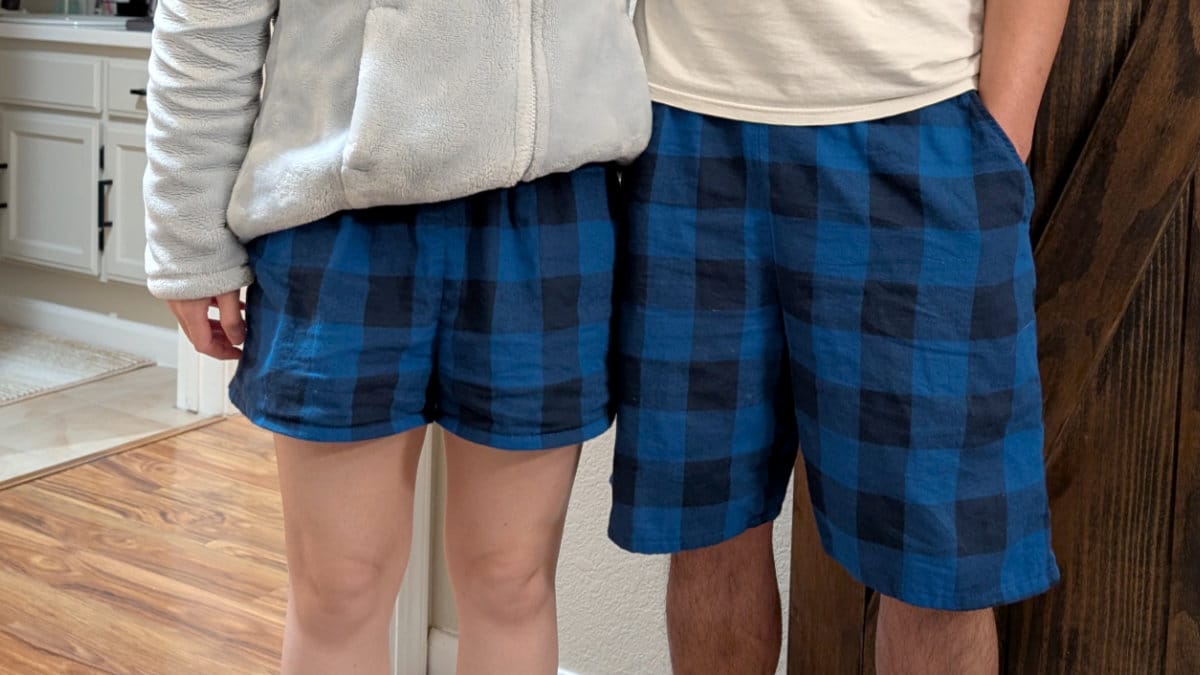
Review of the final version
These are the adjustments I made on the final version. On both, I fixed the slant pockets so they are truly slanted.
On my shorts:
- I increased the rise by 1-inch.
- I used 1-inch elastic instead of 1.5-inch elastic to reduce bulk.
On my partner's shorts:
- I increased the pocket depth by about 2-inches.
- I used 1.5-inch elastic, which is more proportional to the length of the shorts.
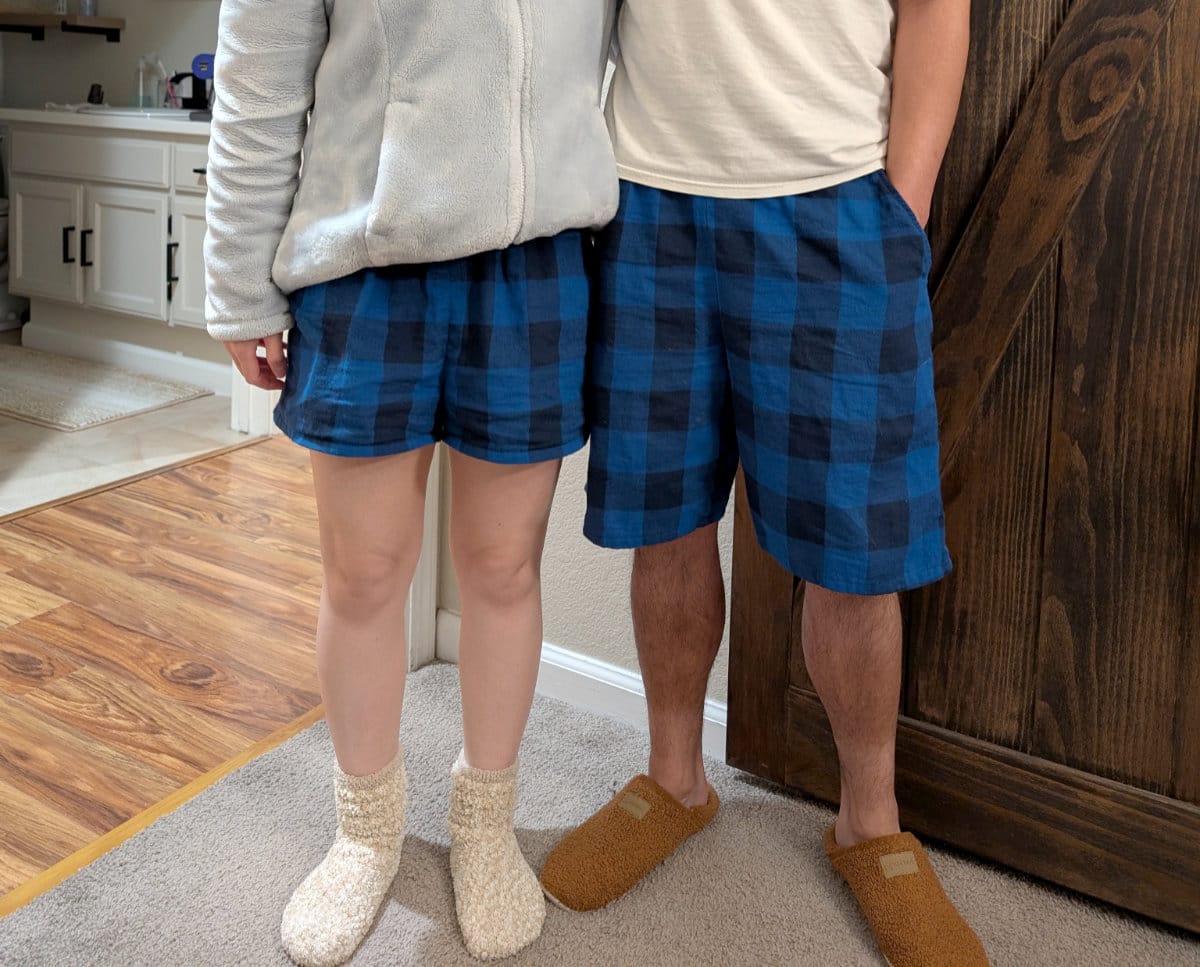
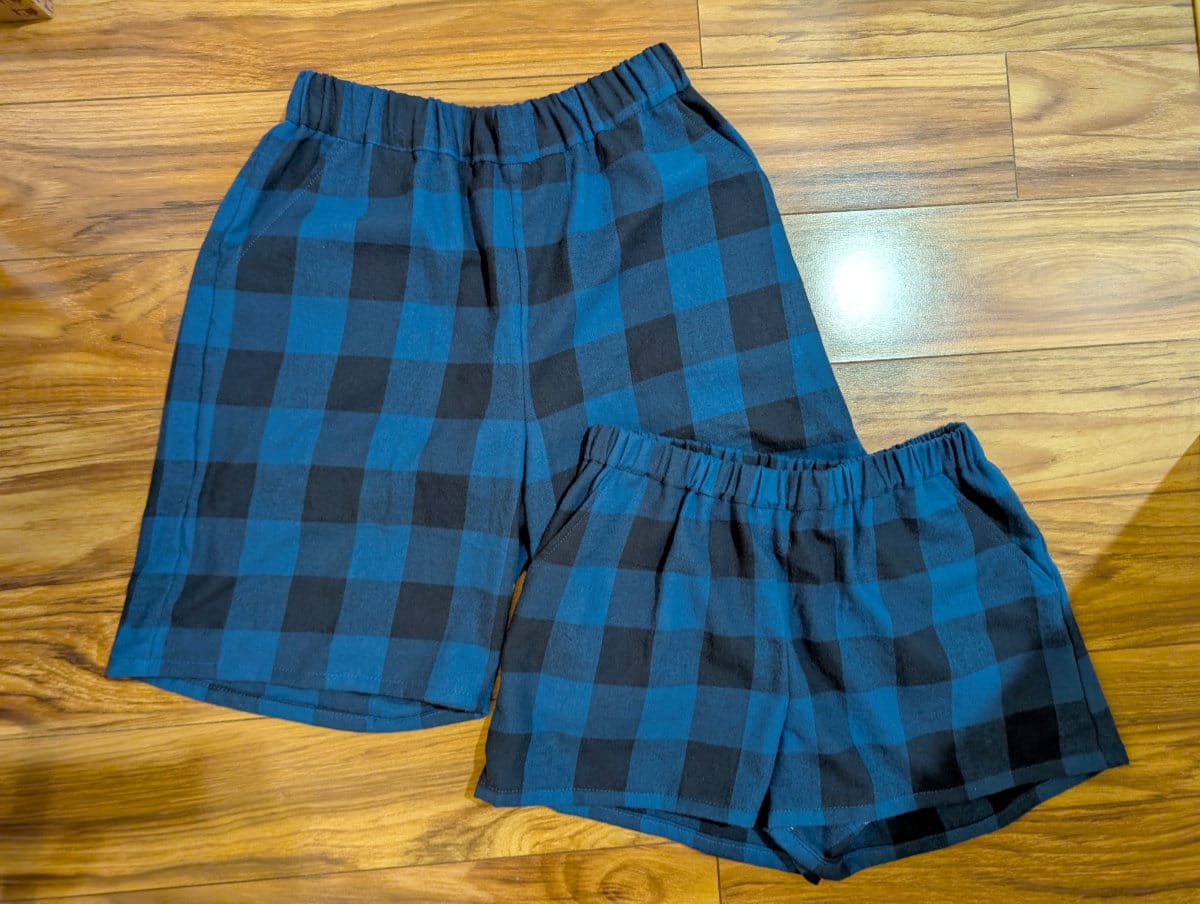
Shorts for short people.
I spent a lot of time making sure I got the details right. Like topstitching from the right side. Going slowly so my lines don't go astray. Stopping frequently to make sure layers are lined up. Going slowly on the pocket curves when overlocking so the distance between the seam and the overlock stitch is uniform.
I feel that the extra time spent was worth it. I focused on improving my sewing technique rather than just trying to get it done. And as a result, the stitching was very clean.
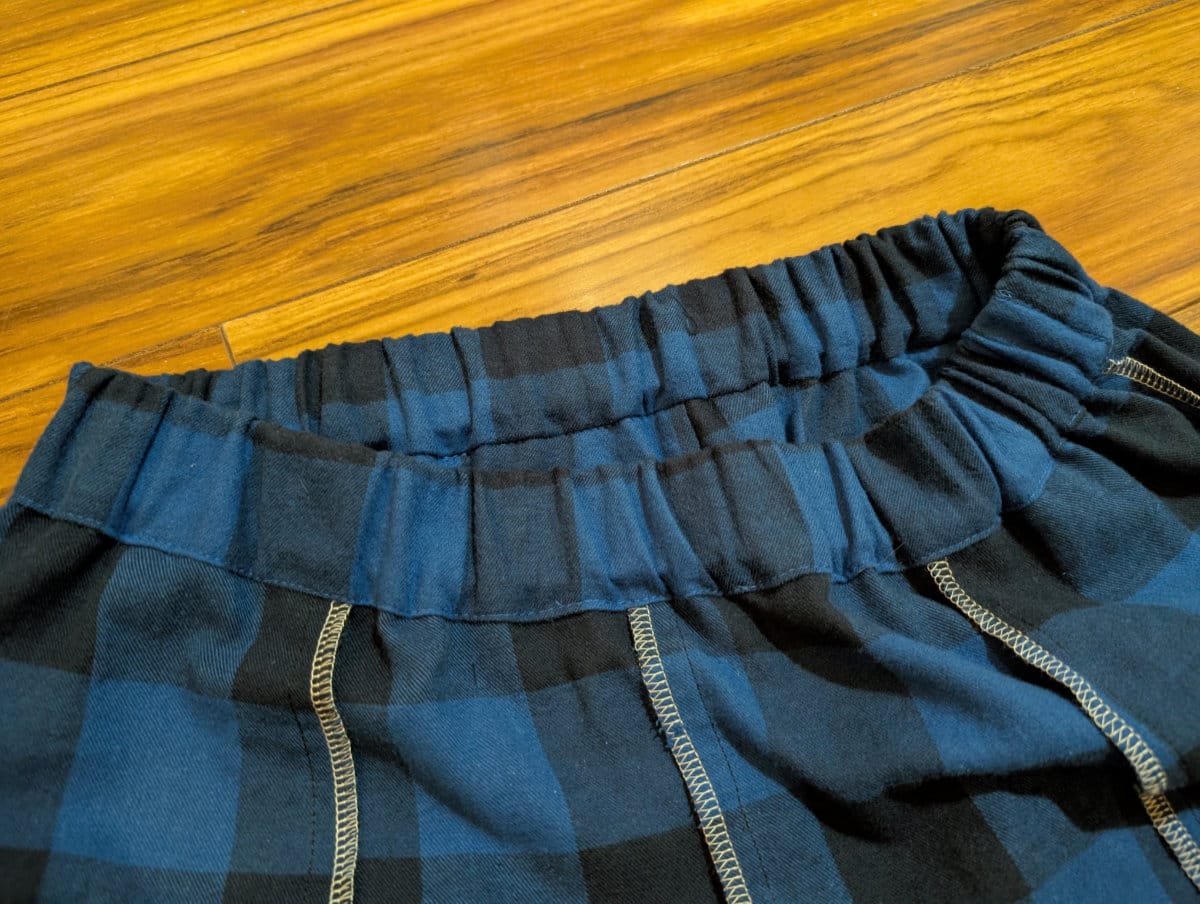
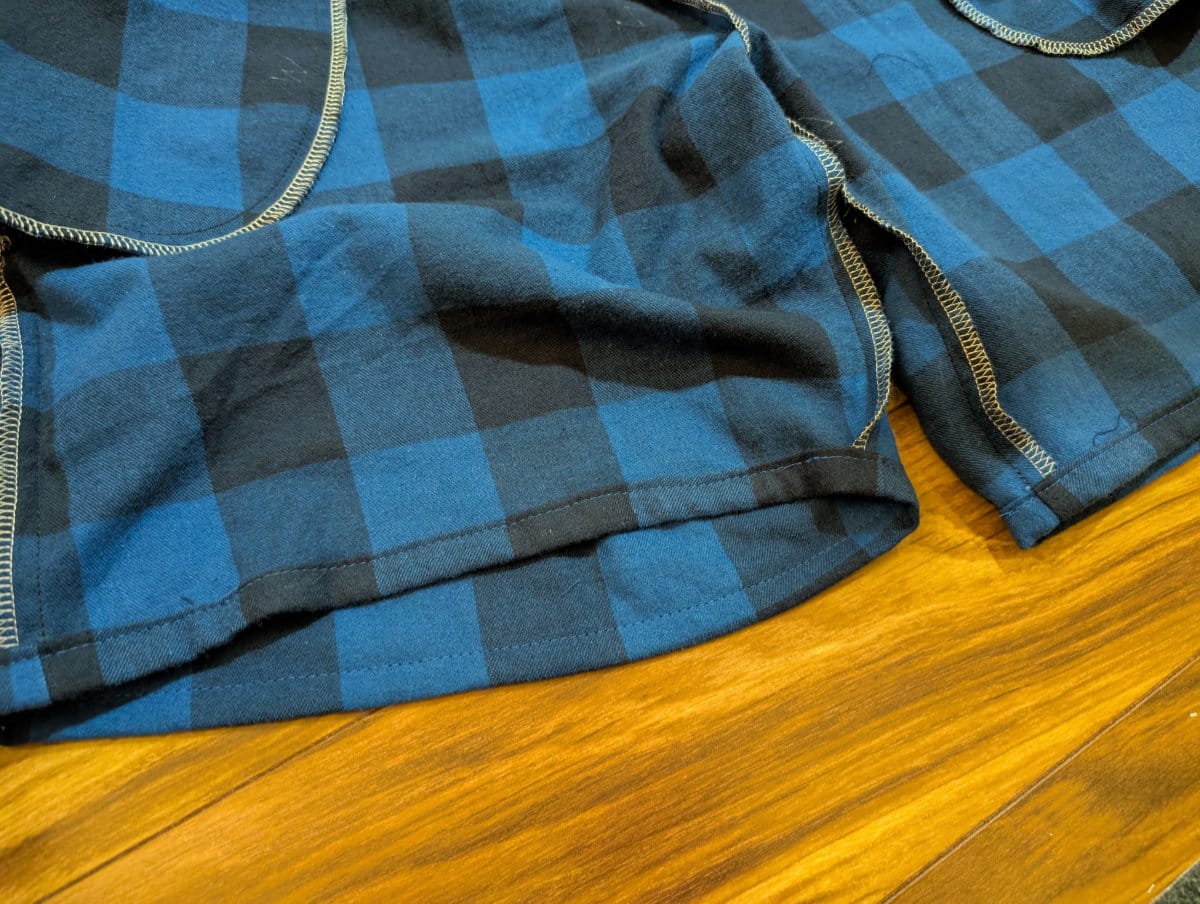
Close-ups of waistband and hem stitching.
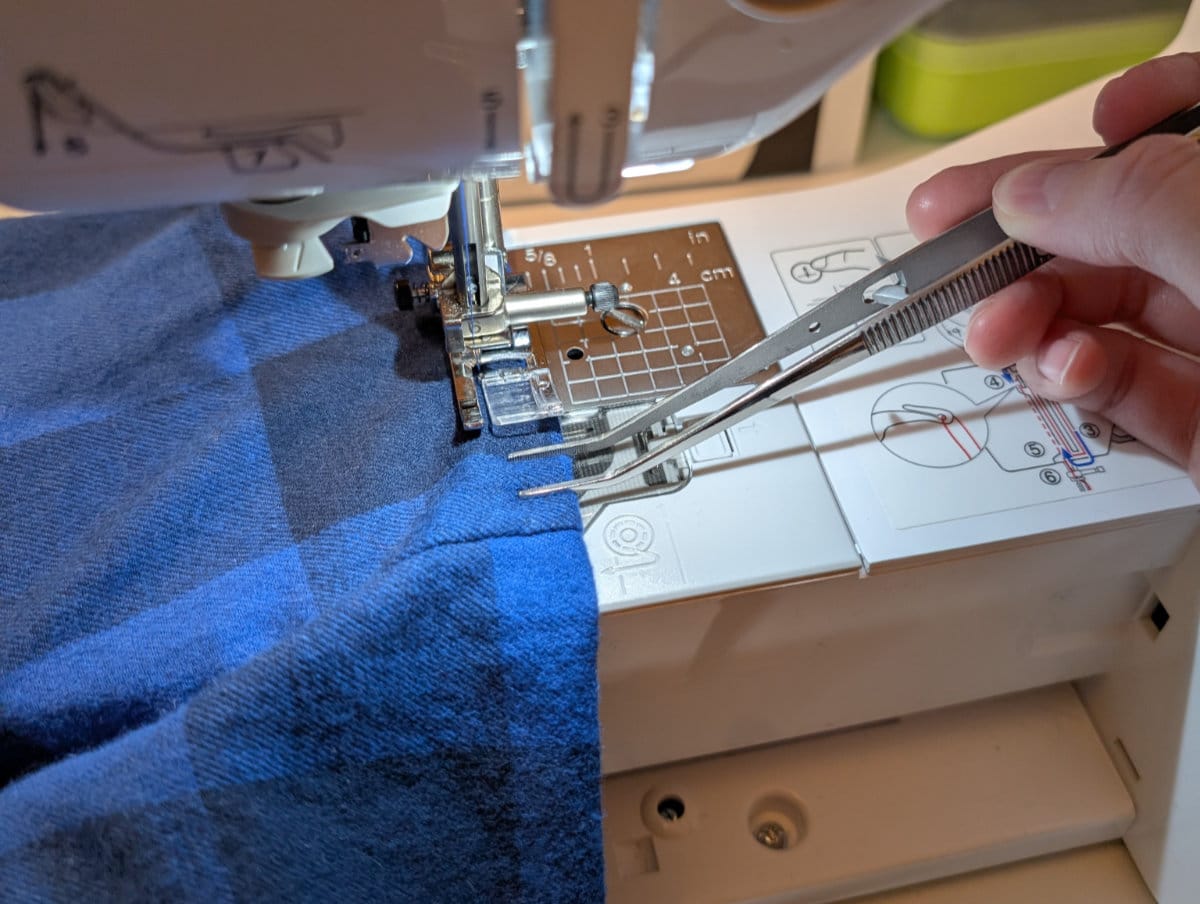
As a final note, I recently bought a pair of tweezers which I originally got for threading the serger. And they are great for that. But they are also great for holding down layers and keeping them straight as I feed them under the needle. It's less fatiguing, more precise, and I can get close to the needle without endangering my fingers. For clarity, I do not worry about getting punctured by the needle; I worry about getting smacked by screw that secures the needle in place.